For this project i was tasked to make a model using various 3D modelling features. I choose this drumpad that have because i like the design of it.
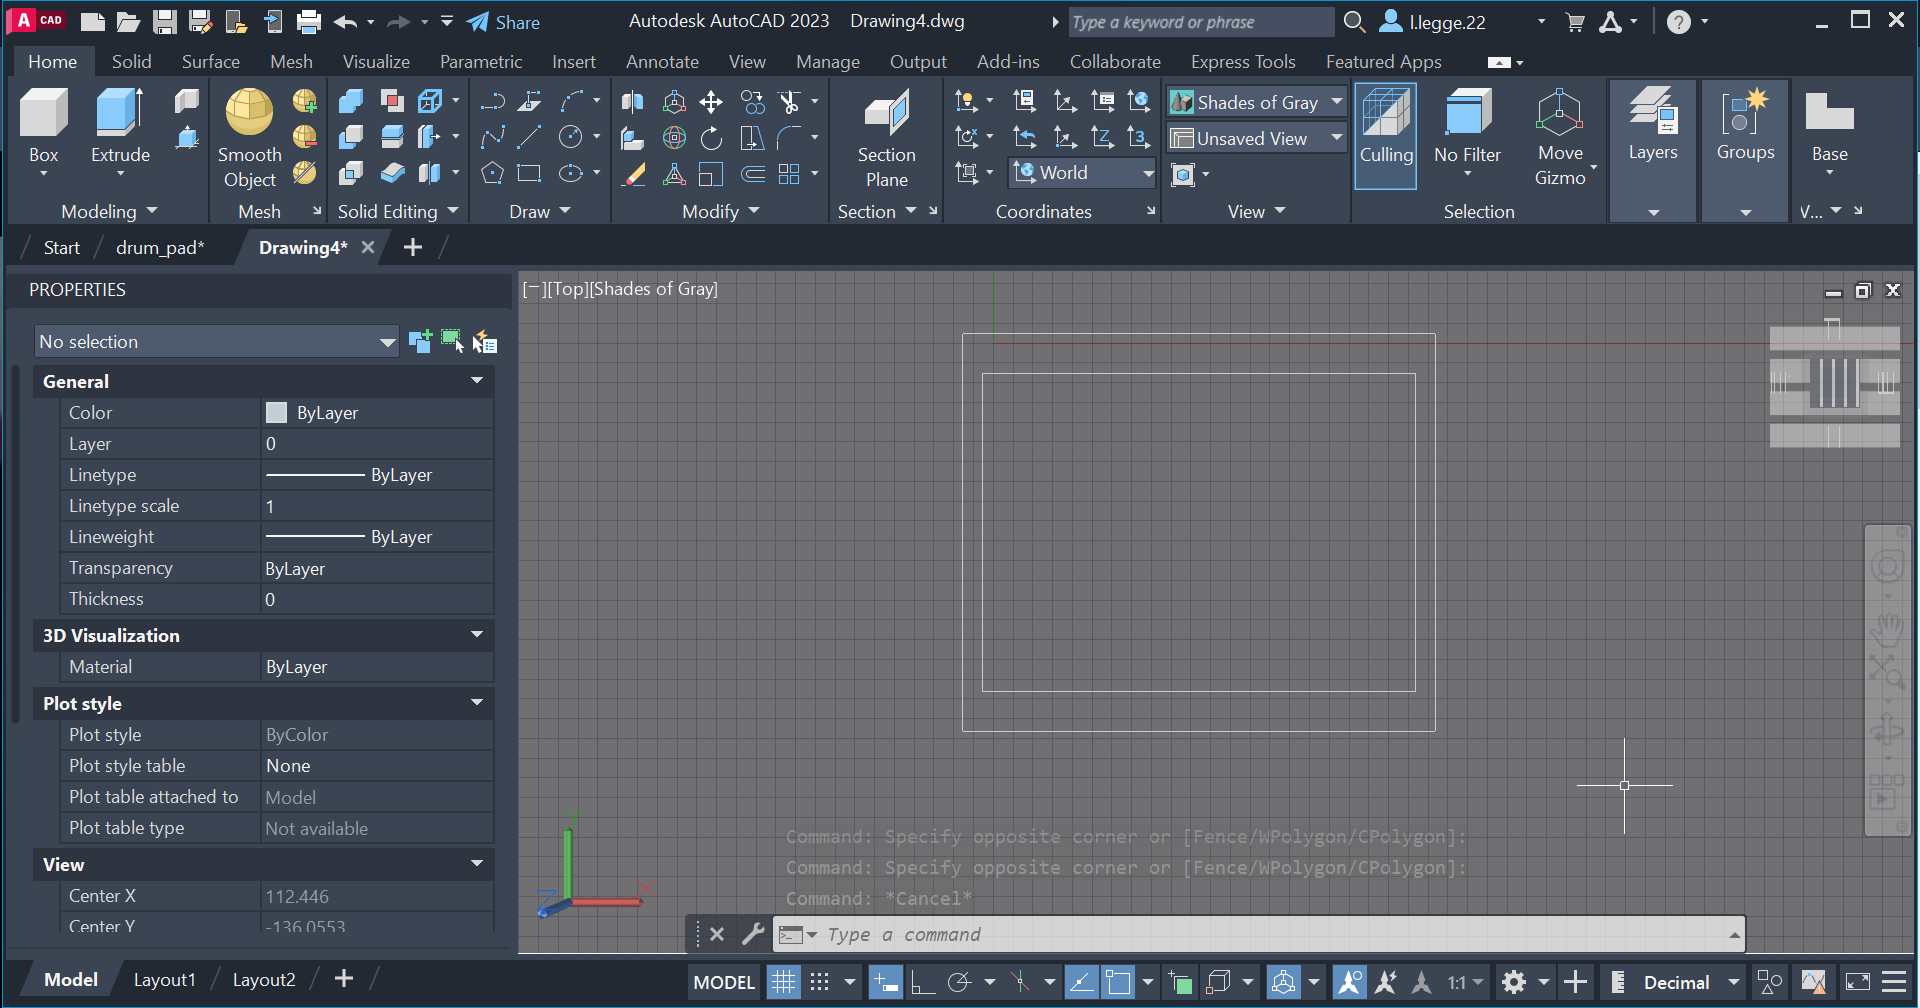
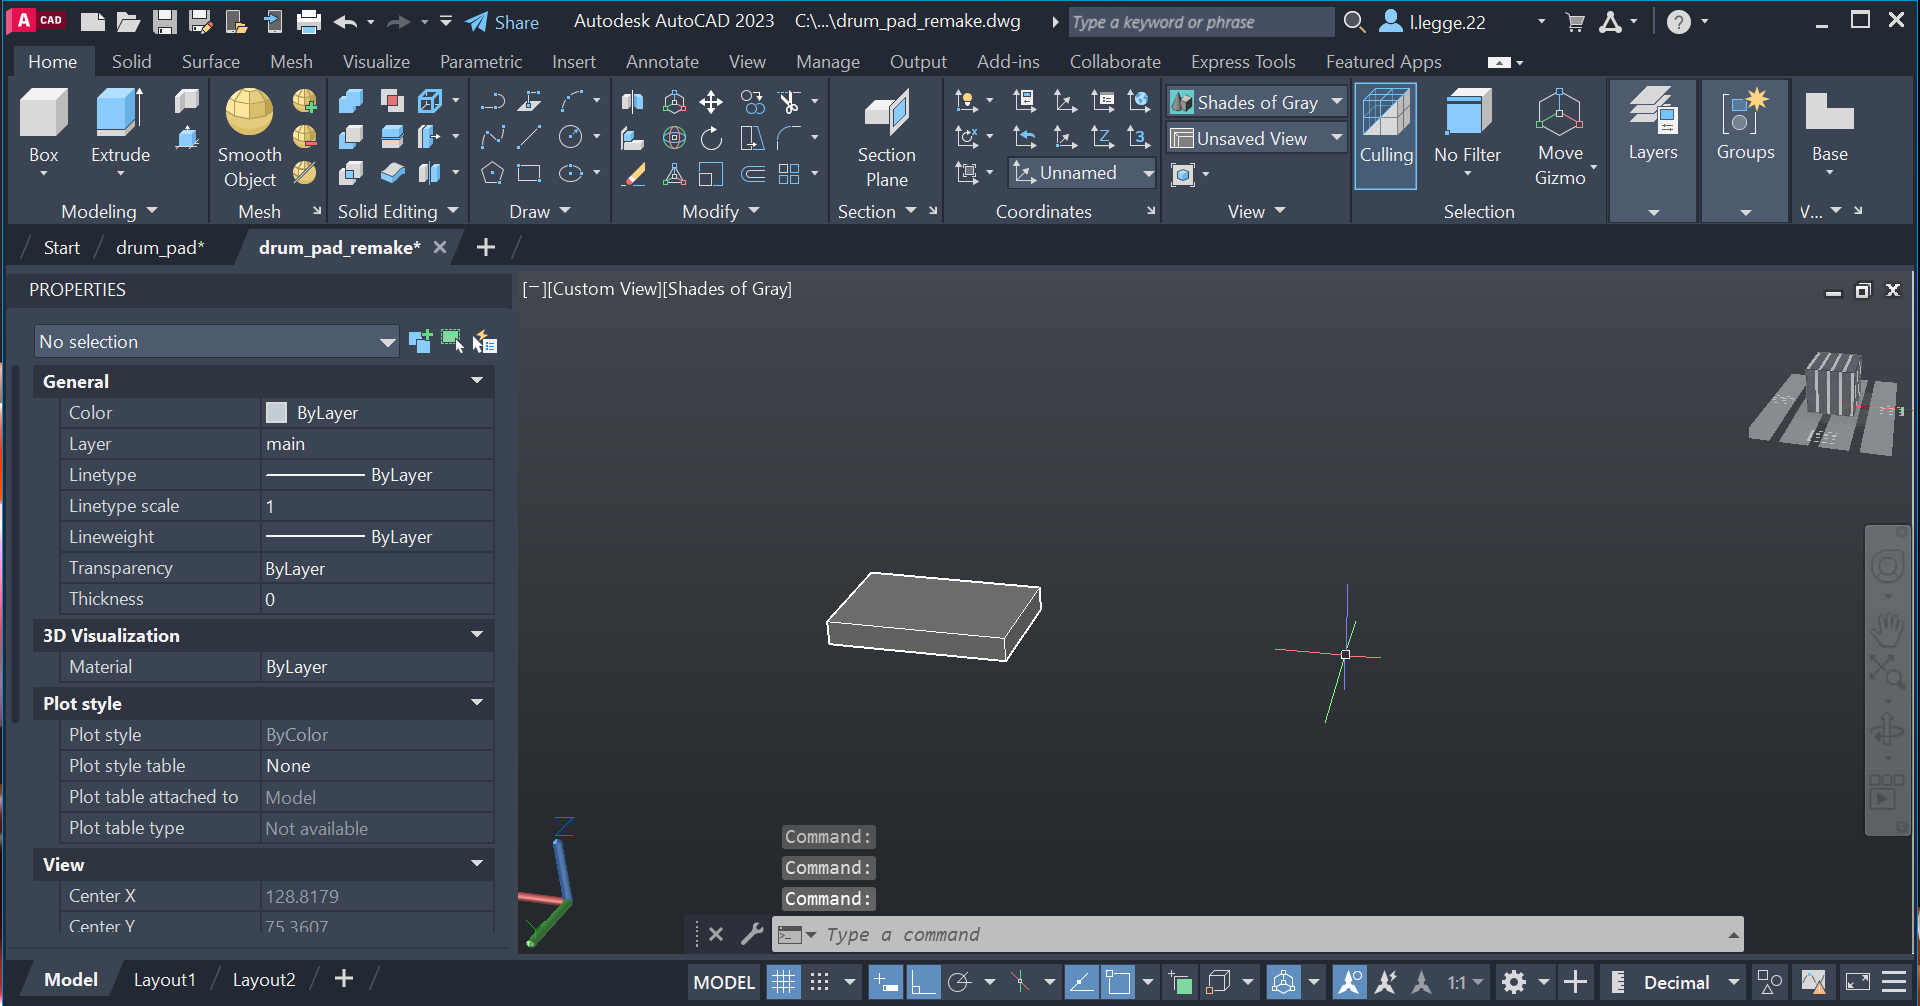
I first began by drawing the bottom half of the product. i drew the smaller rectangle to be the base and i would use the larger rectangle to then loft the design to create the slop.
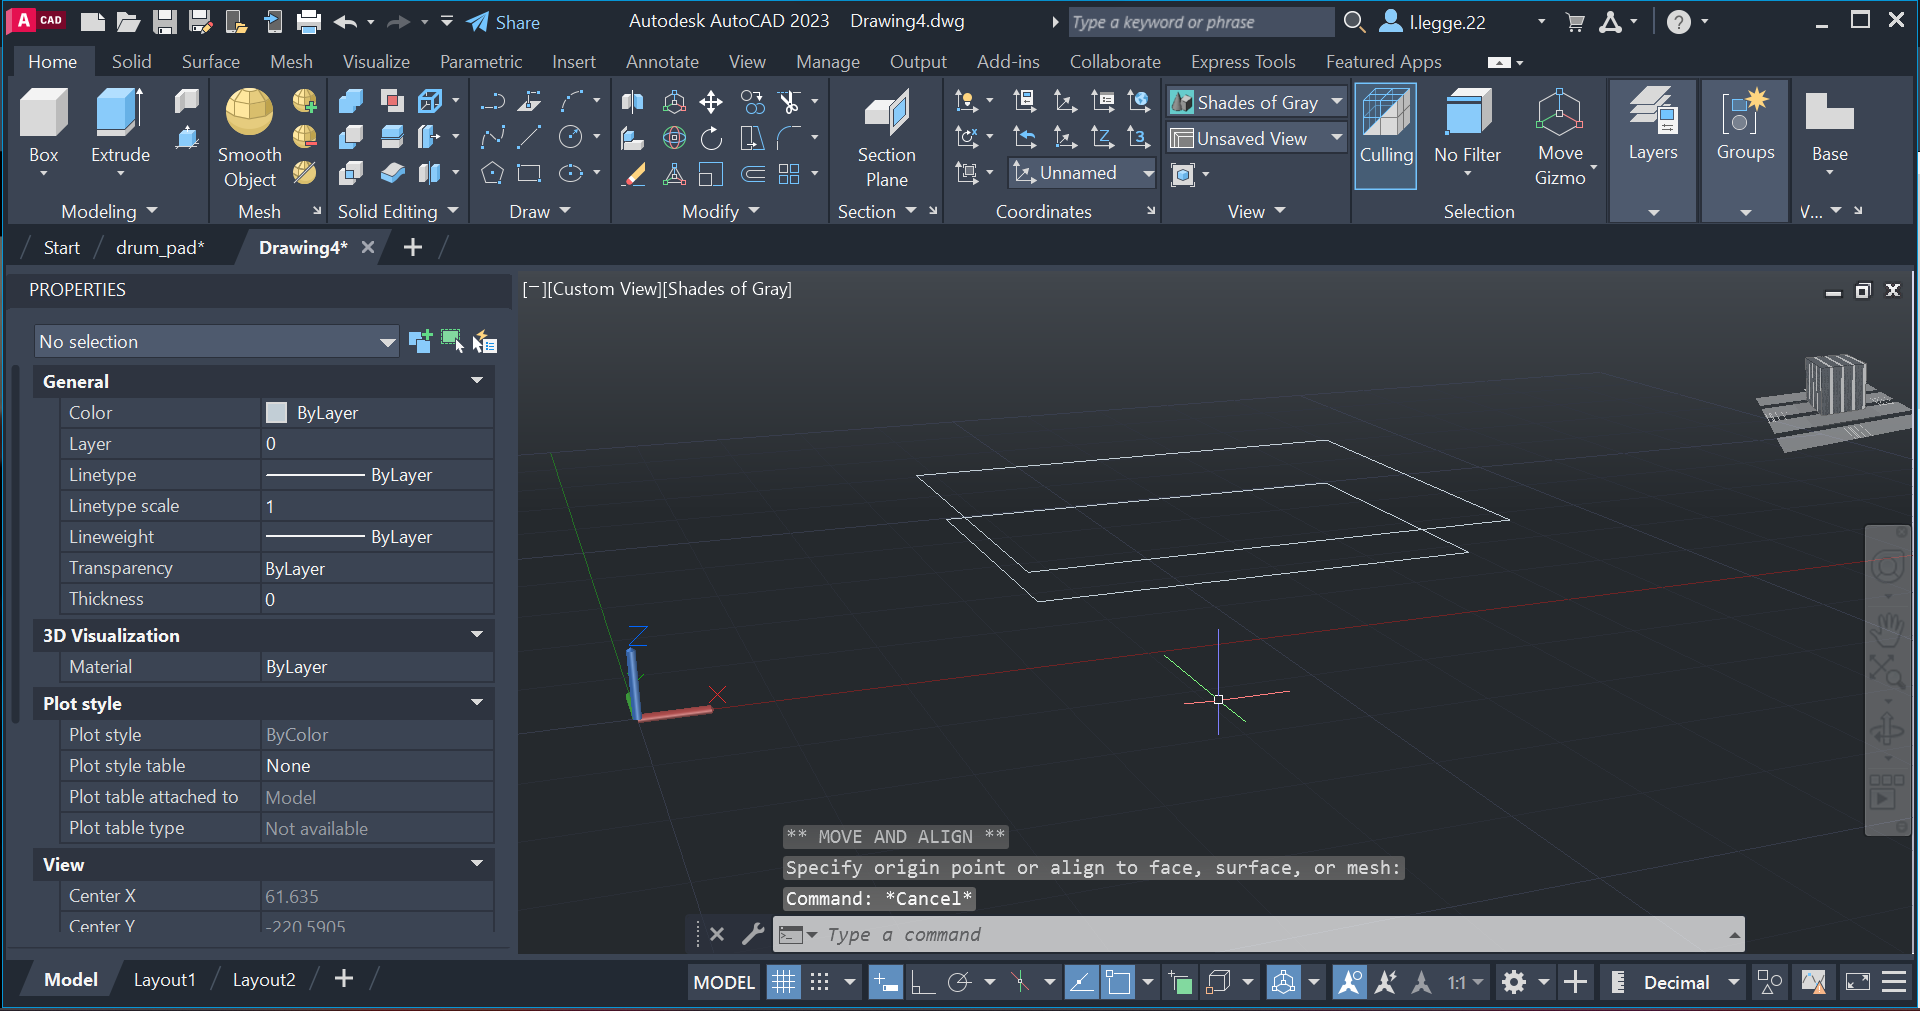
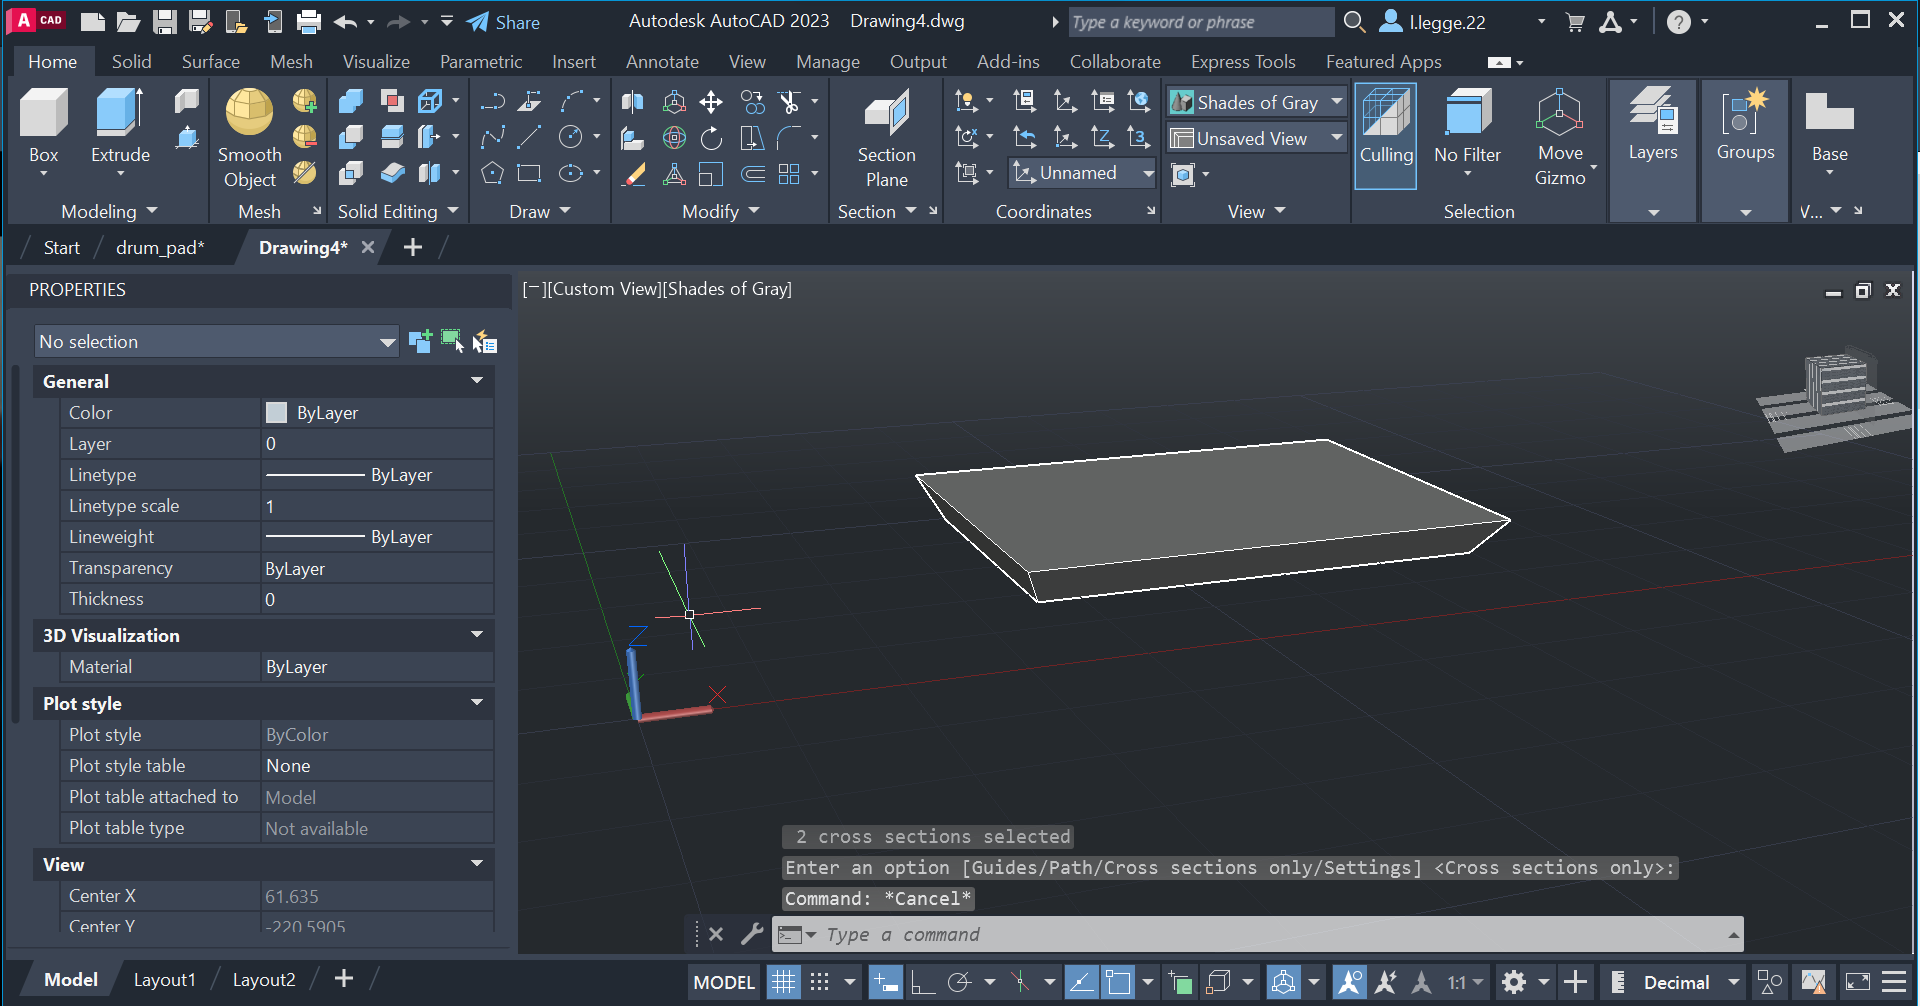
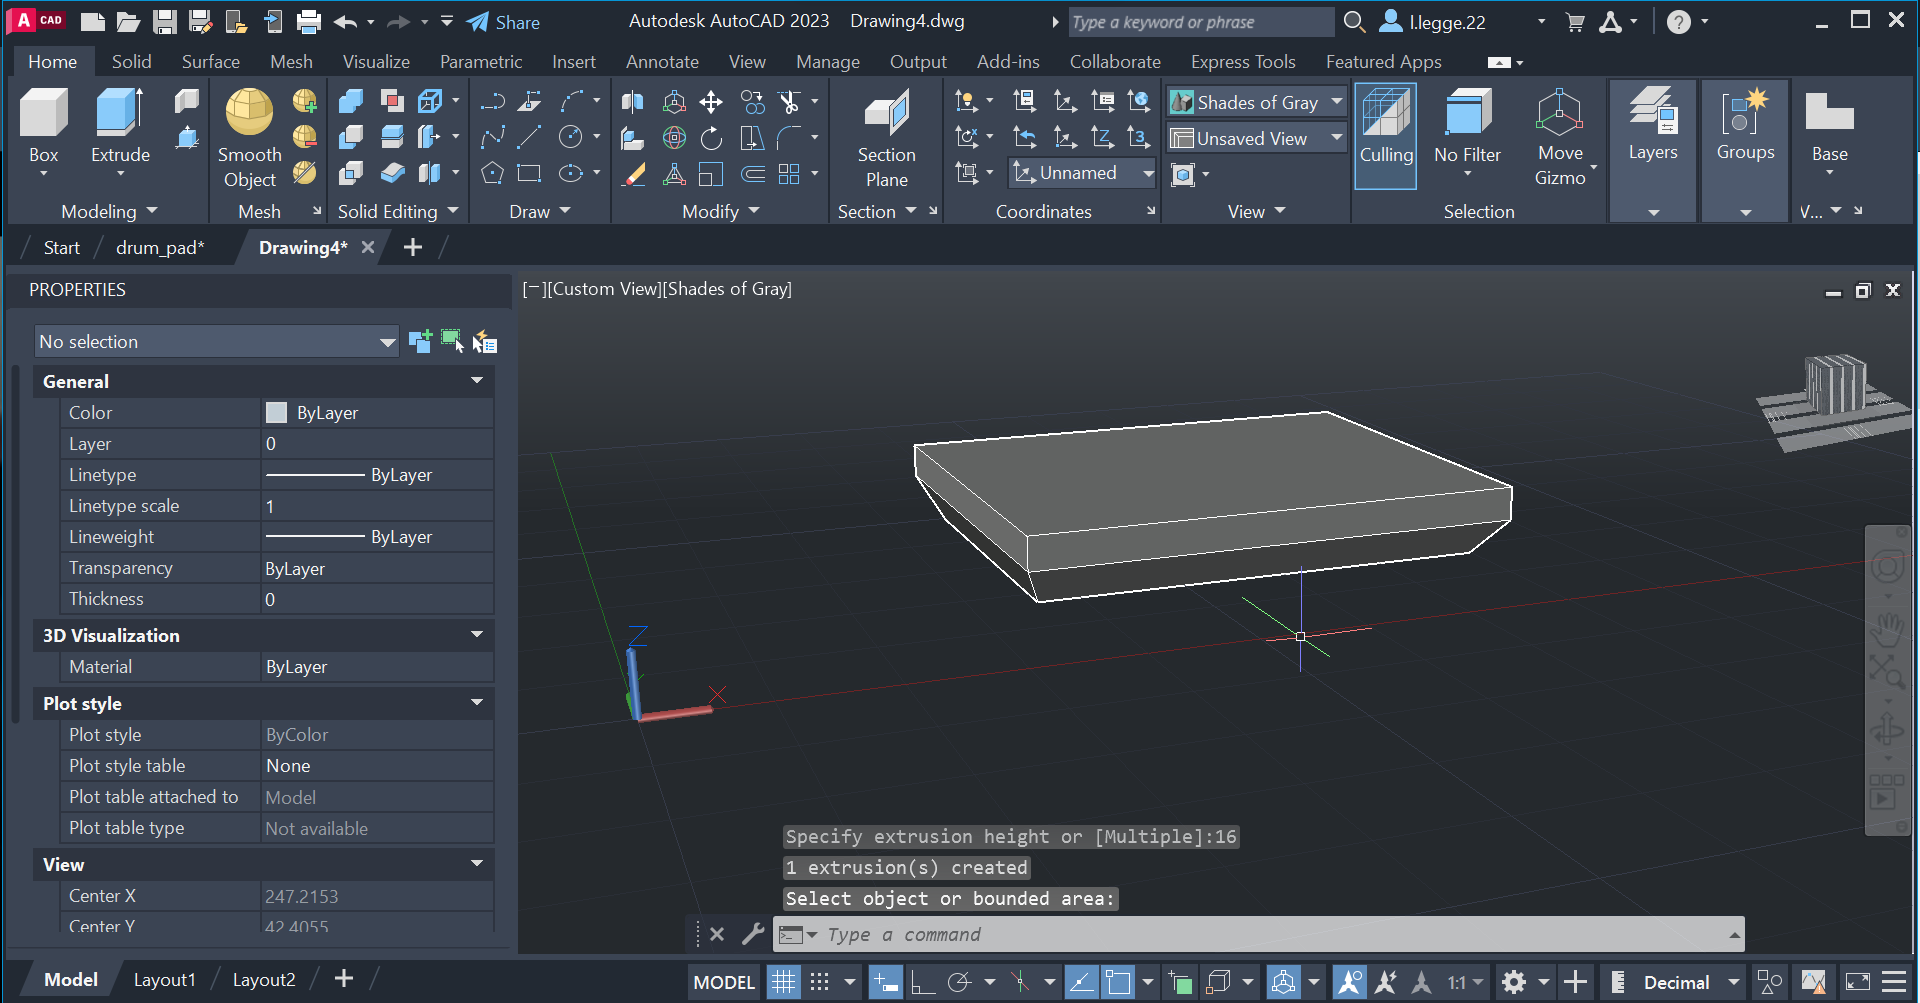
I then moved the larger rectangleto the desired height.
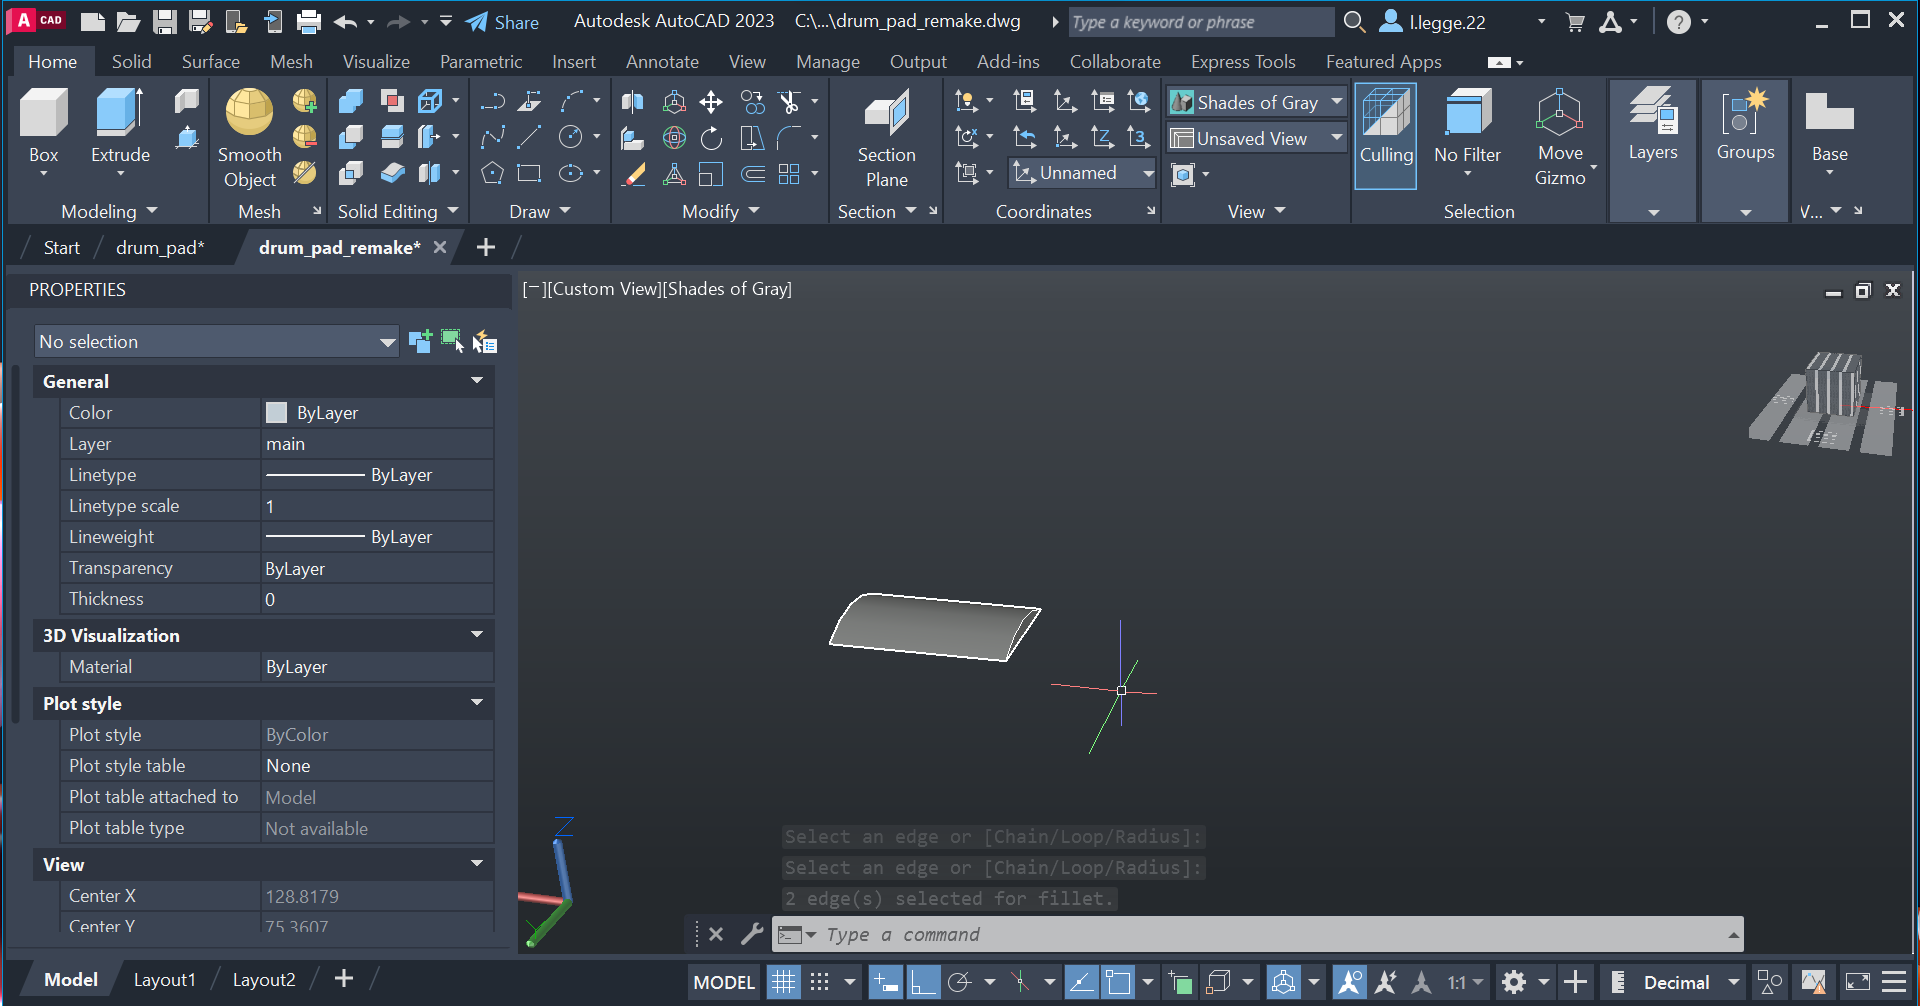
I then completed the loft.
I then used the press pull tool to extend the height of the shape however i later delected it and drew a rectangle the same dimentions and used the extrude. i had to redo this step because i needed 2 seperate shapes.
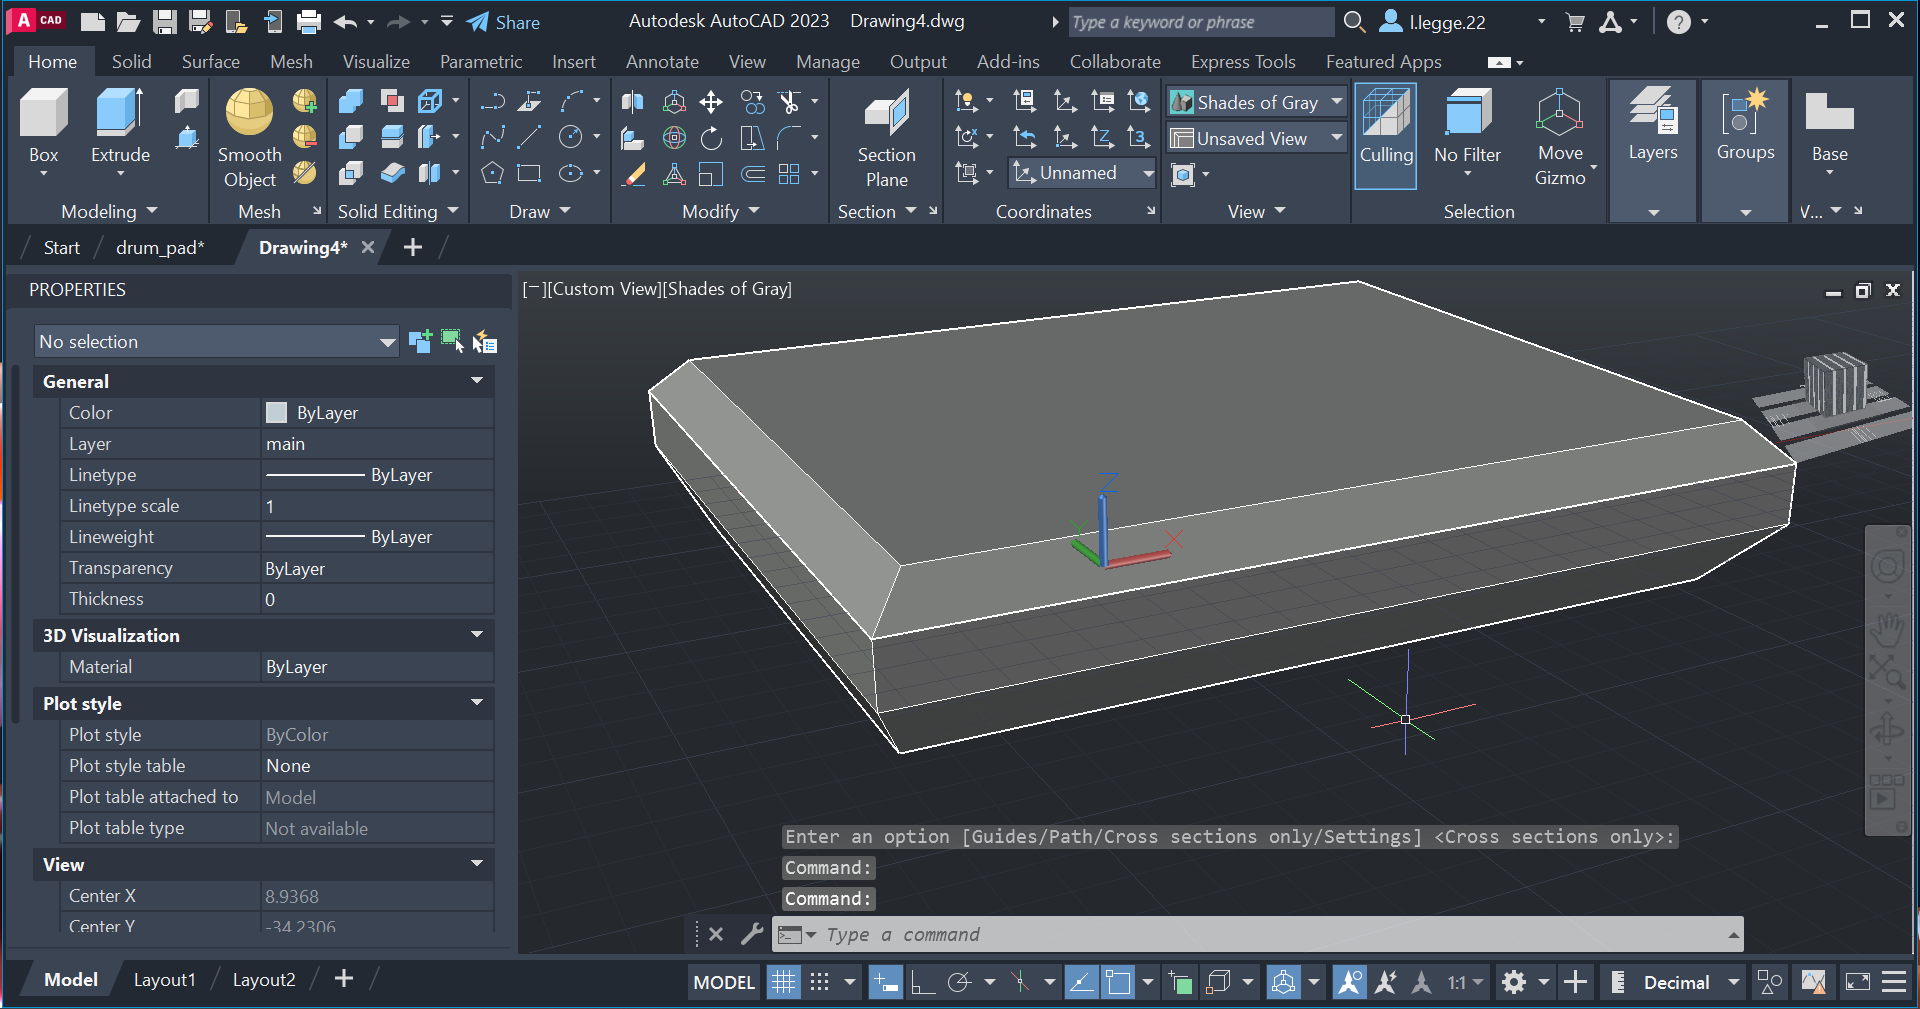
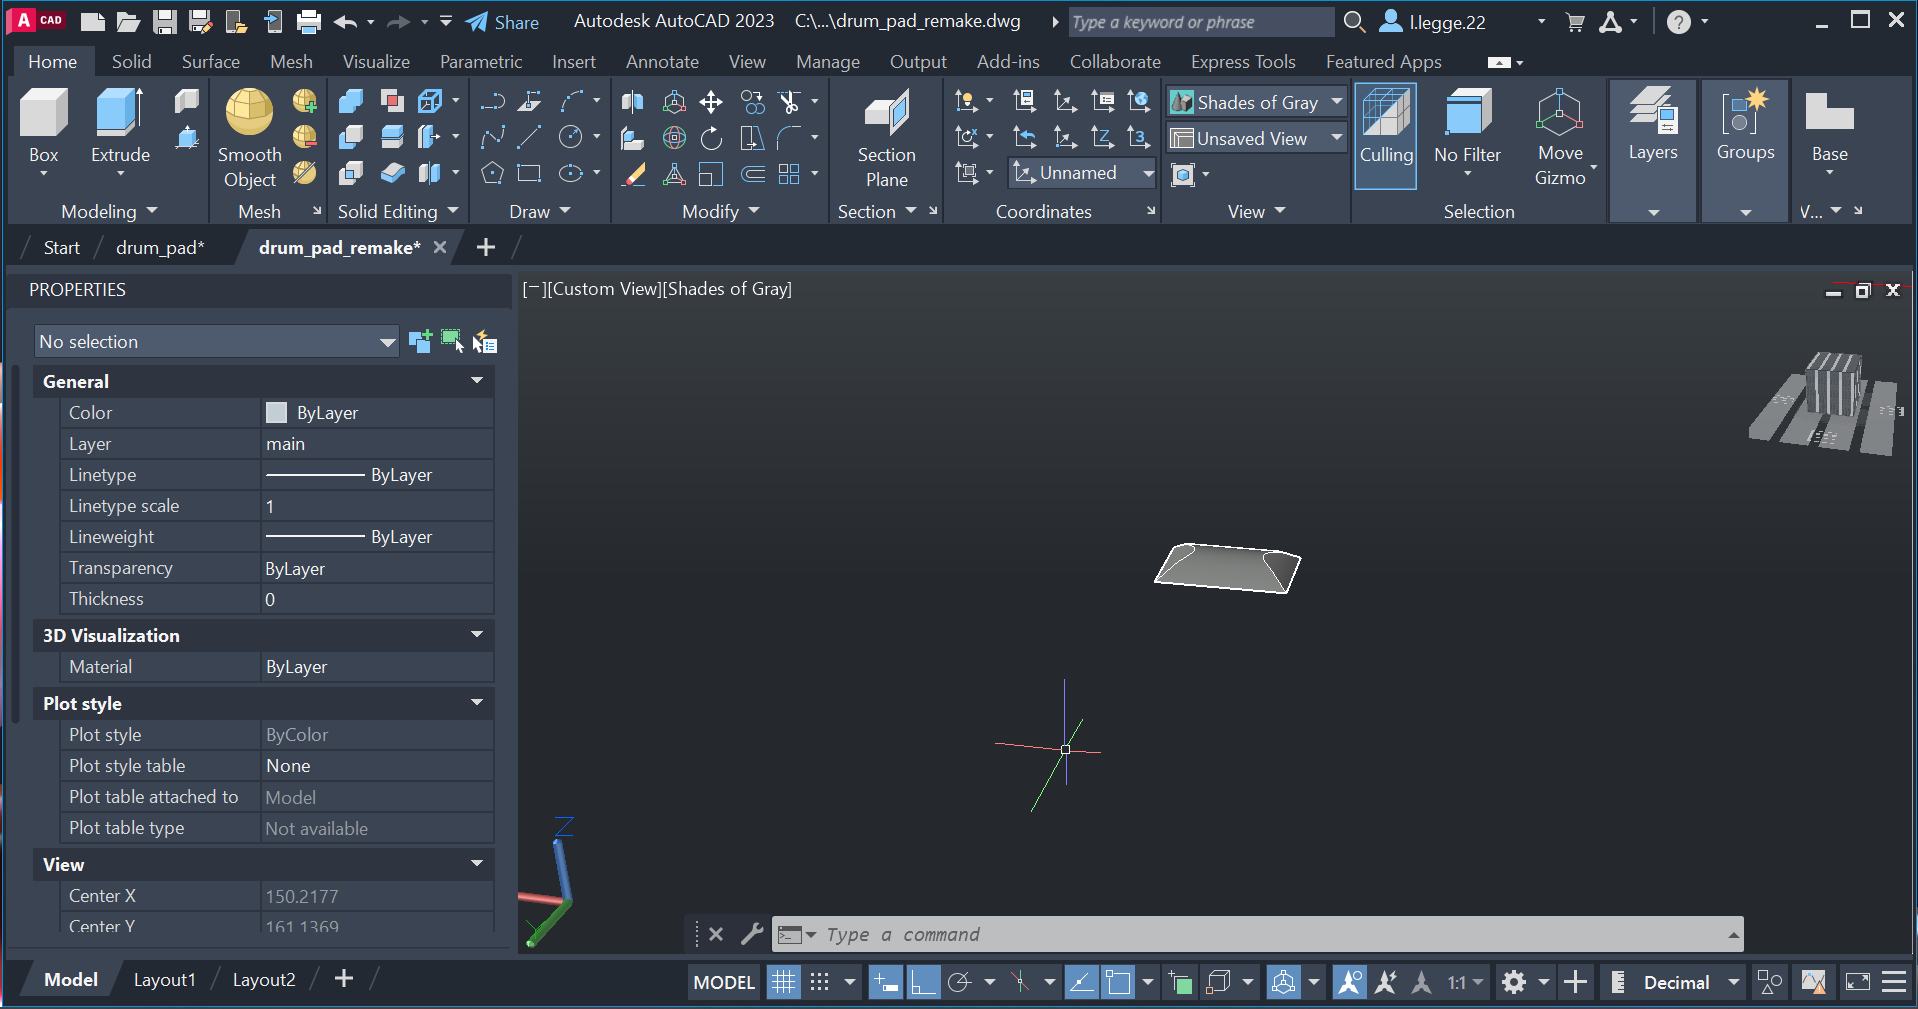
I then drew a smaller rectangle inside the shape and elevated it to the desired level to preform another loft.
I then used the loft tool once again.
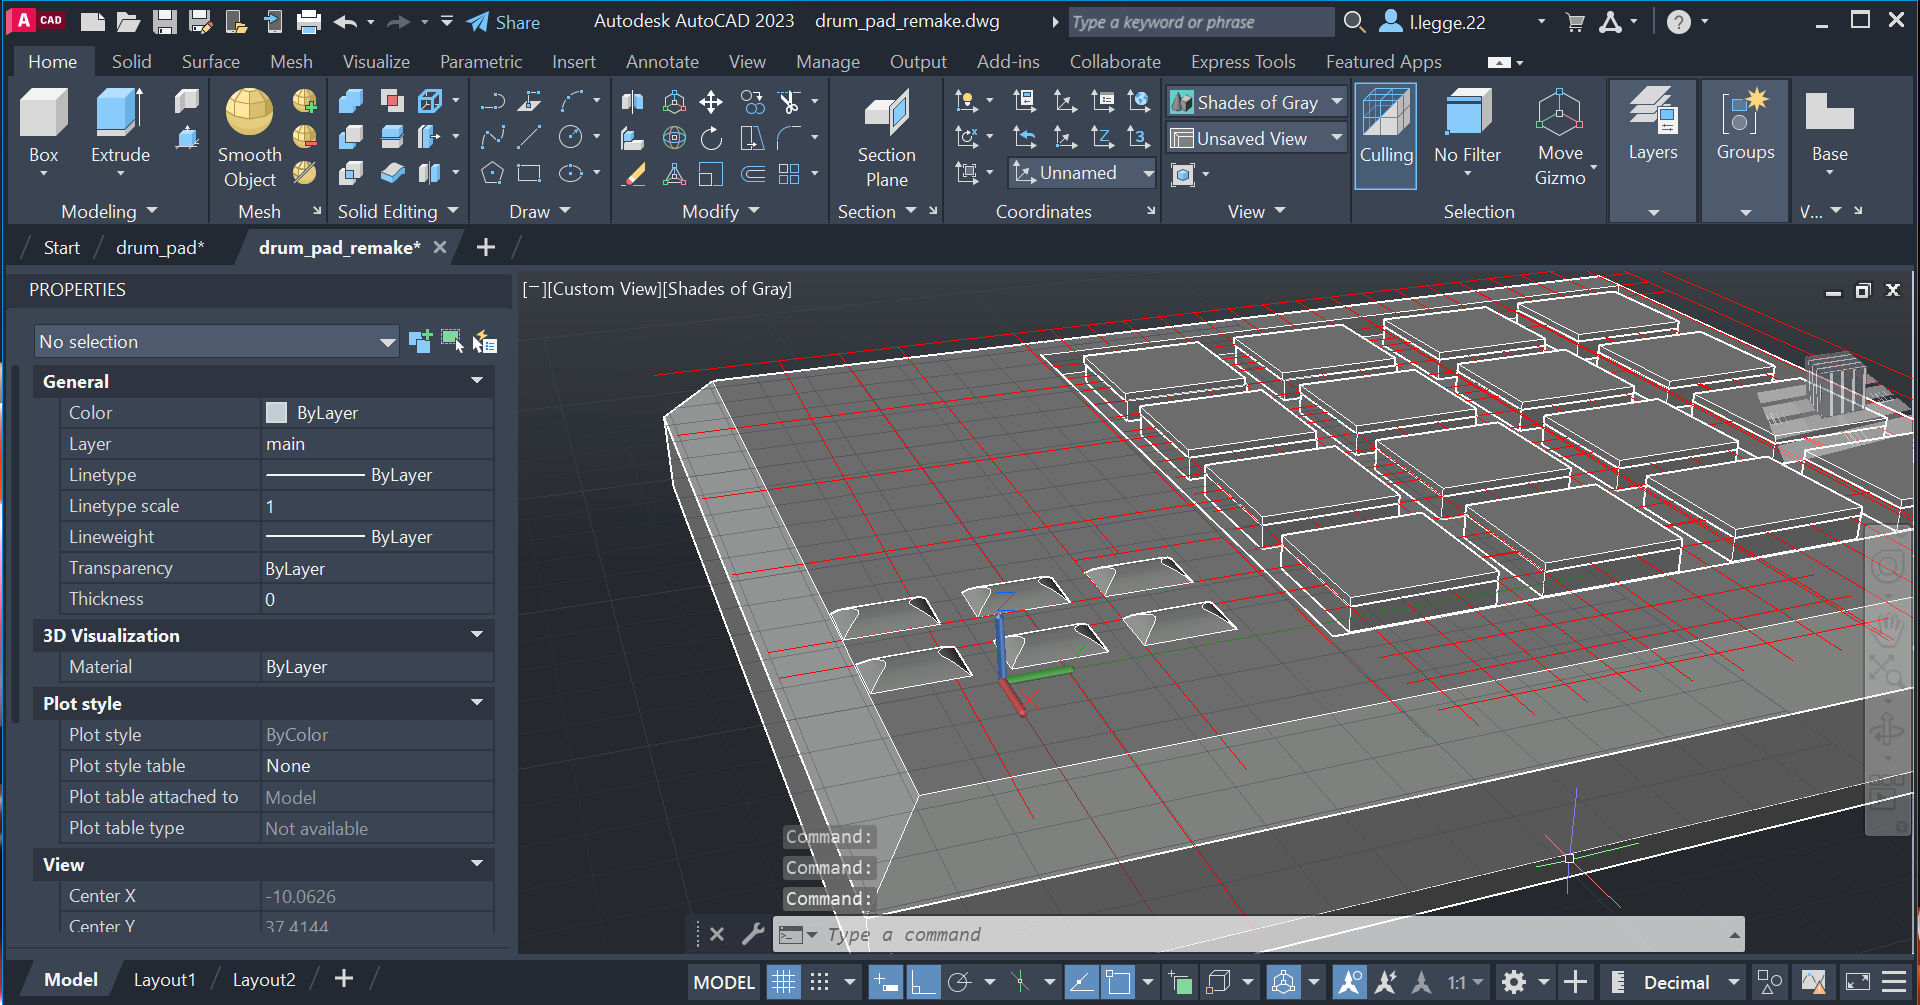
After that i then created a draft layer to make out all of the details to then make my life easier later on.
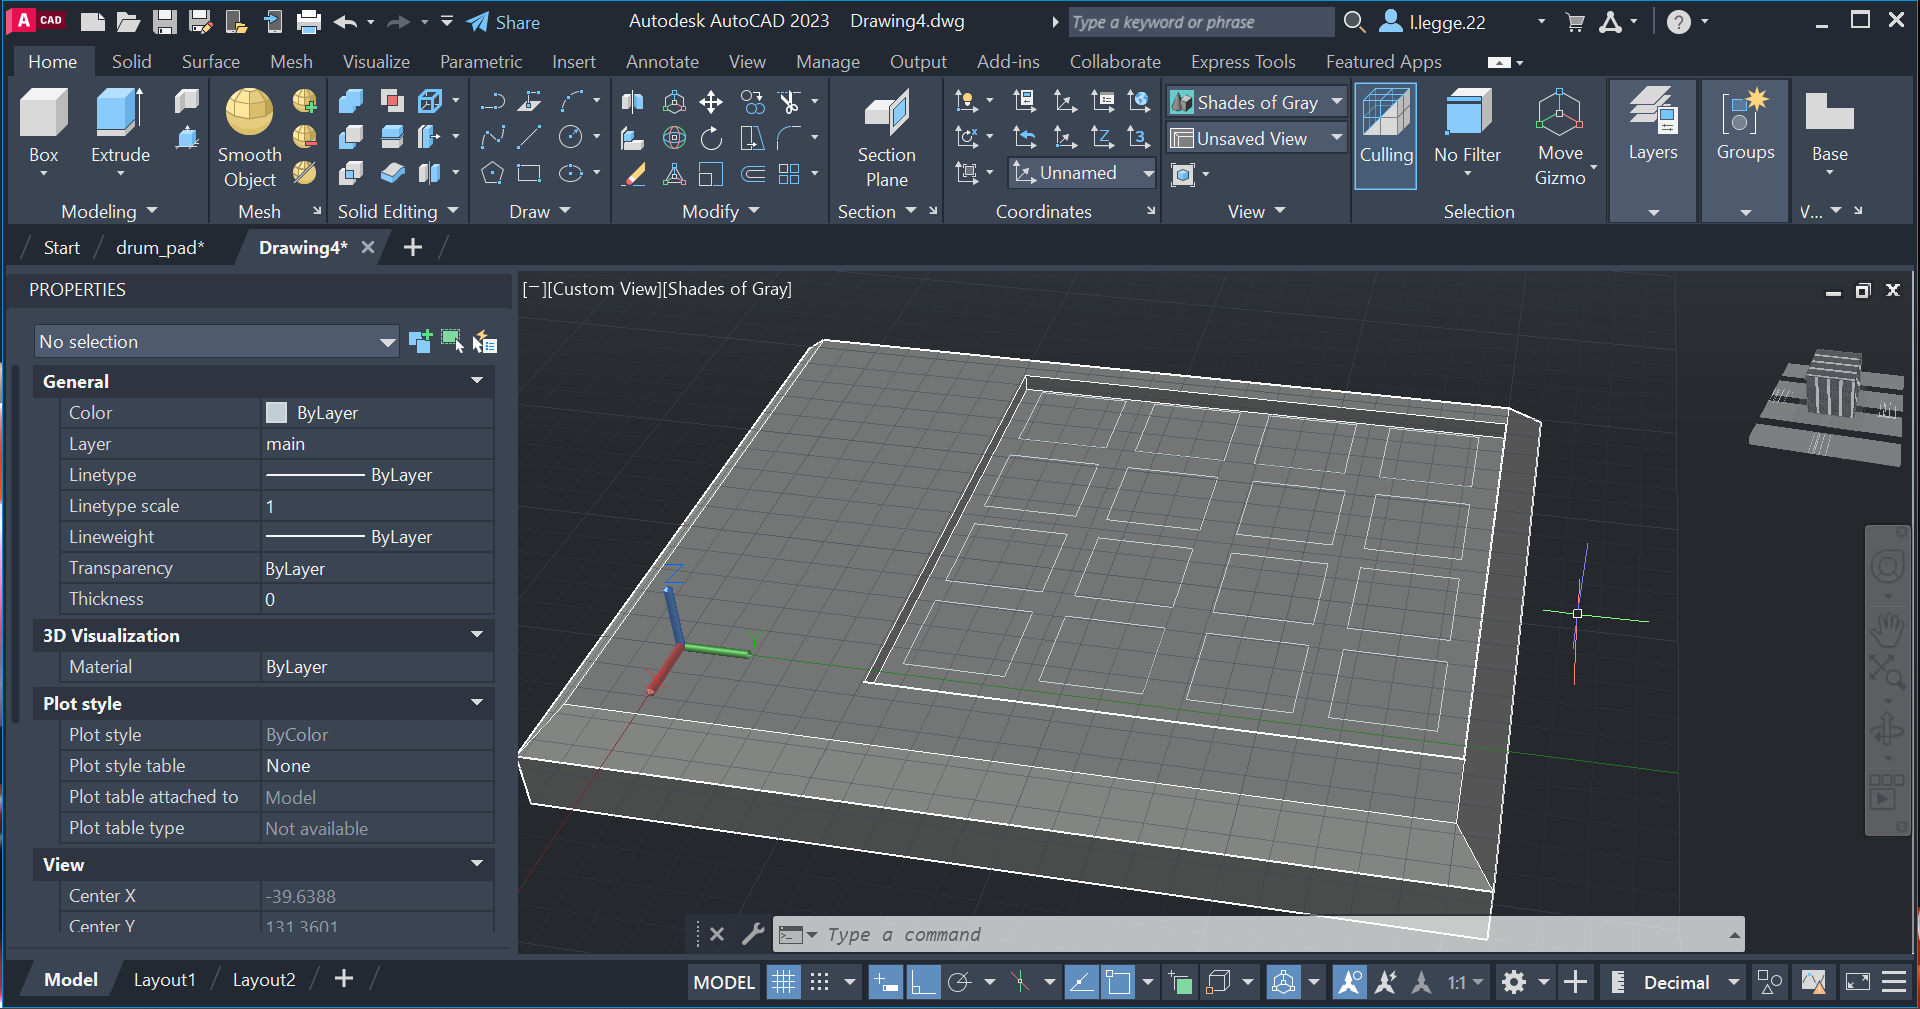
I then used the draft layer to create the smaller indented rectangle that would form the perimeter for the padded buttons on the product.
I then used the extrude tool to make the rectanglei just drew go down into the main product. And i then used the substract tool to create the indent as seen in the image. After that i used the draft layer again to mark out each of the padded buttons.
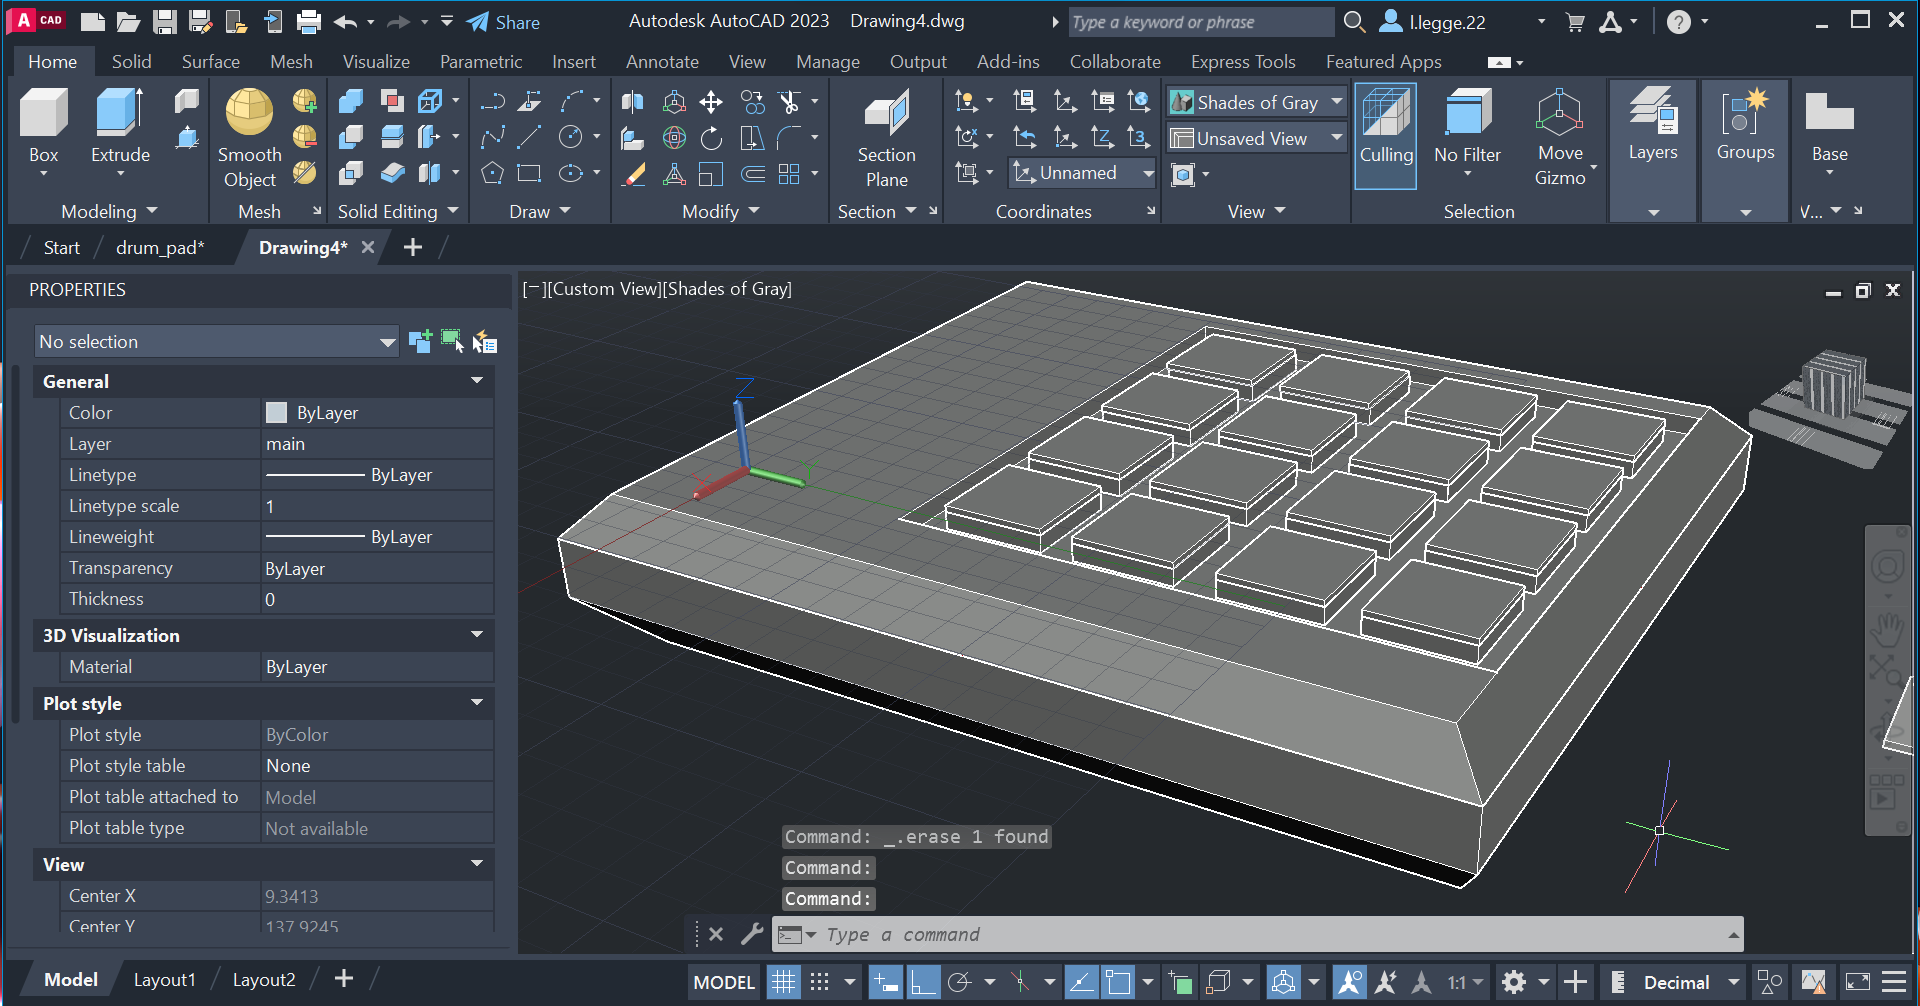
I then extruded the button i had just drawn to make the bottam half of the pads.
I then created the top half of the pads. I did this by creating the same 2d shape ontop of the existing pads then extruding. I used the mirror tool to place them quicker and to make sure there symetrical.
I then used some empty space to draw one of the six buttons. I simply used the rectangle tool and extruded it.
I then heavily filleted the model to make the top half completly round.
I then used the chamfer tool to create the diagonal flat edges.
Using the guide i created on the draft layer i places the buttons i had just drawn. I used the copy tool to save me having to recreate them all again.
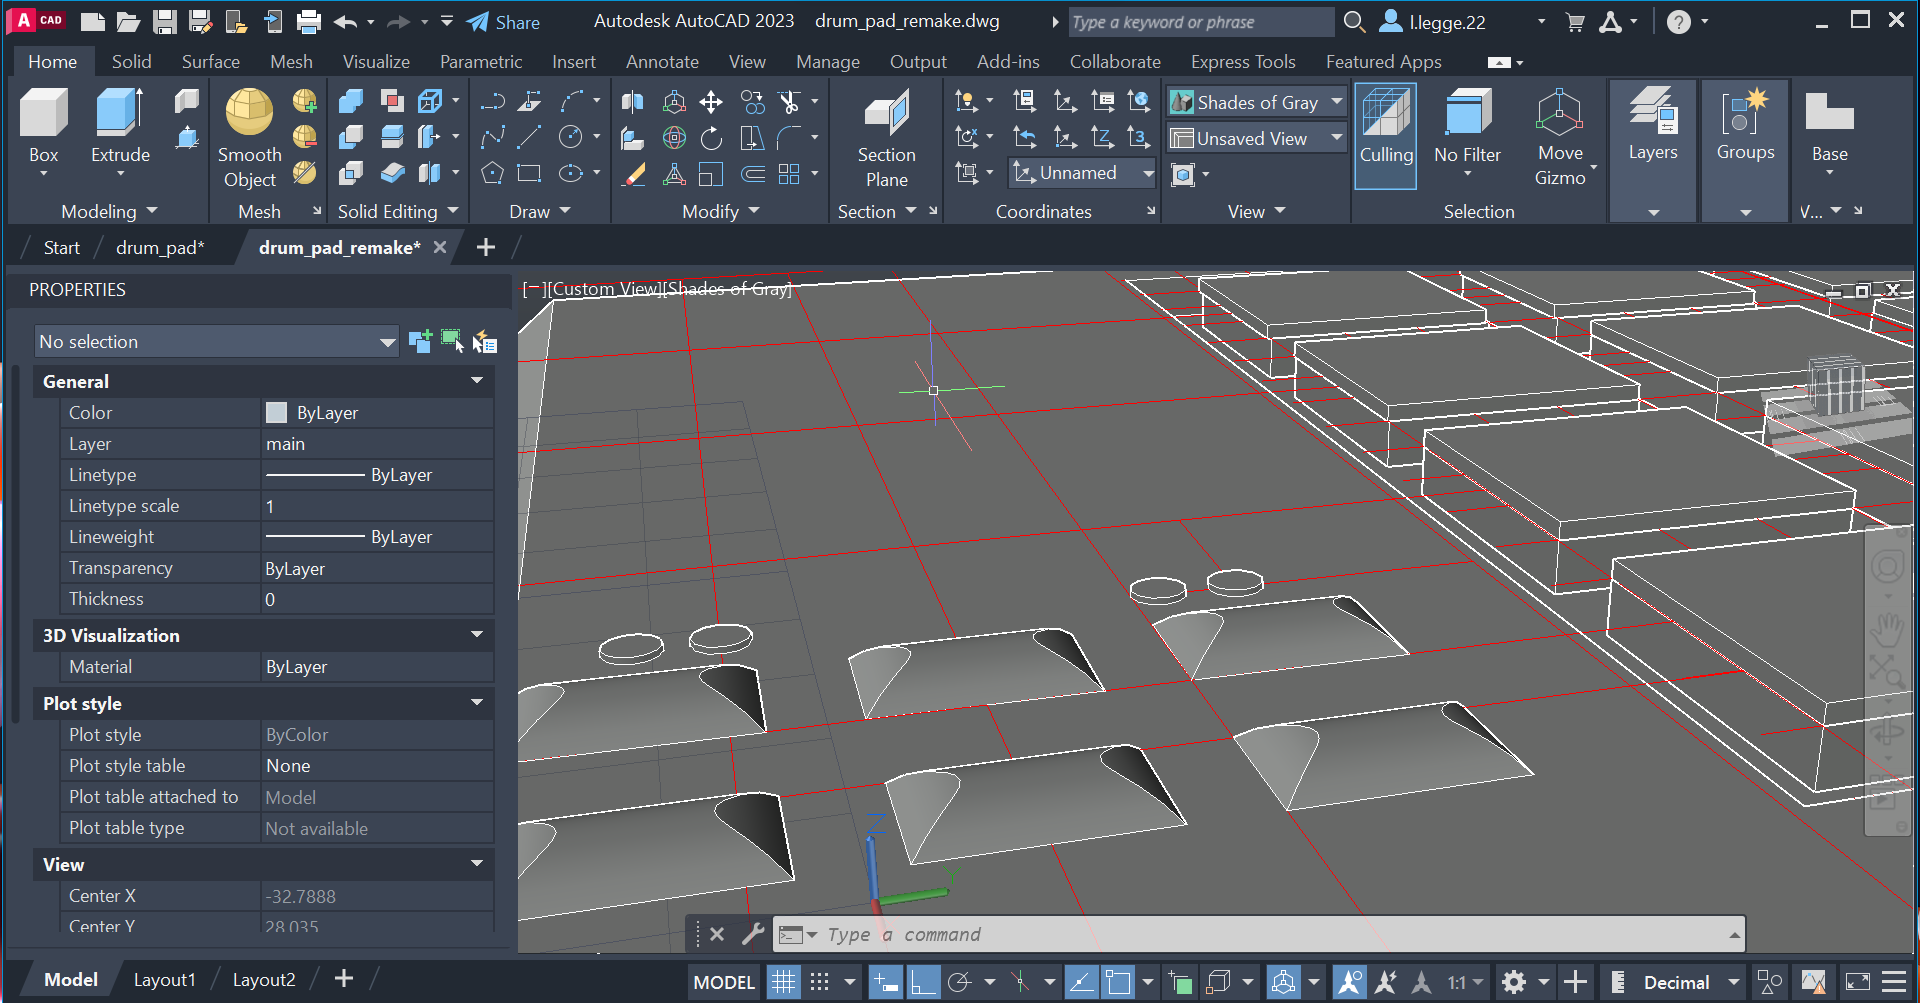
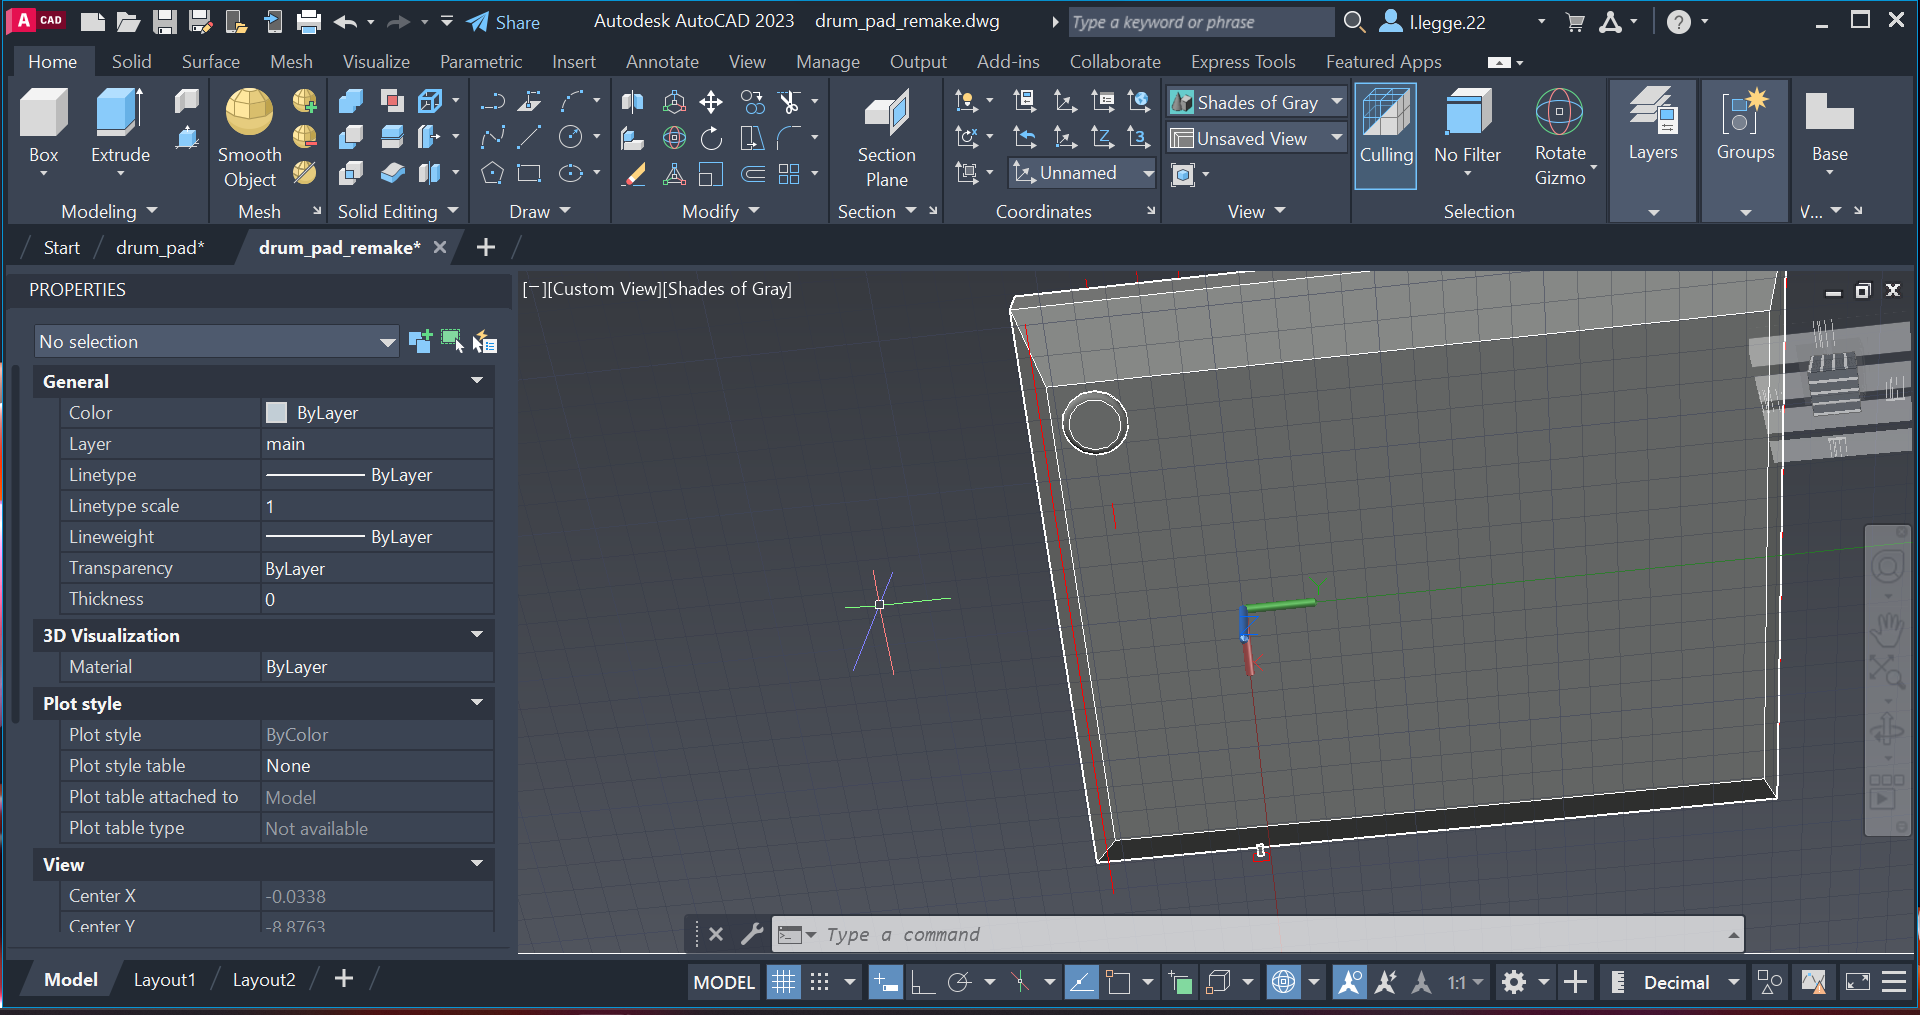
I then created the led lights. On the model the led's are slightly elevated. Therefore i have extruded the circle to a low height.
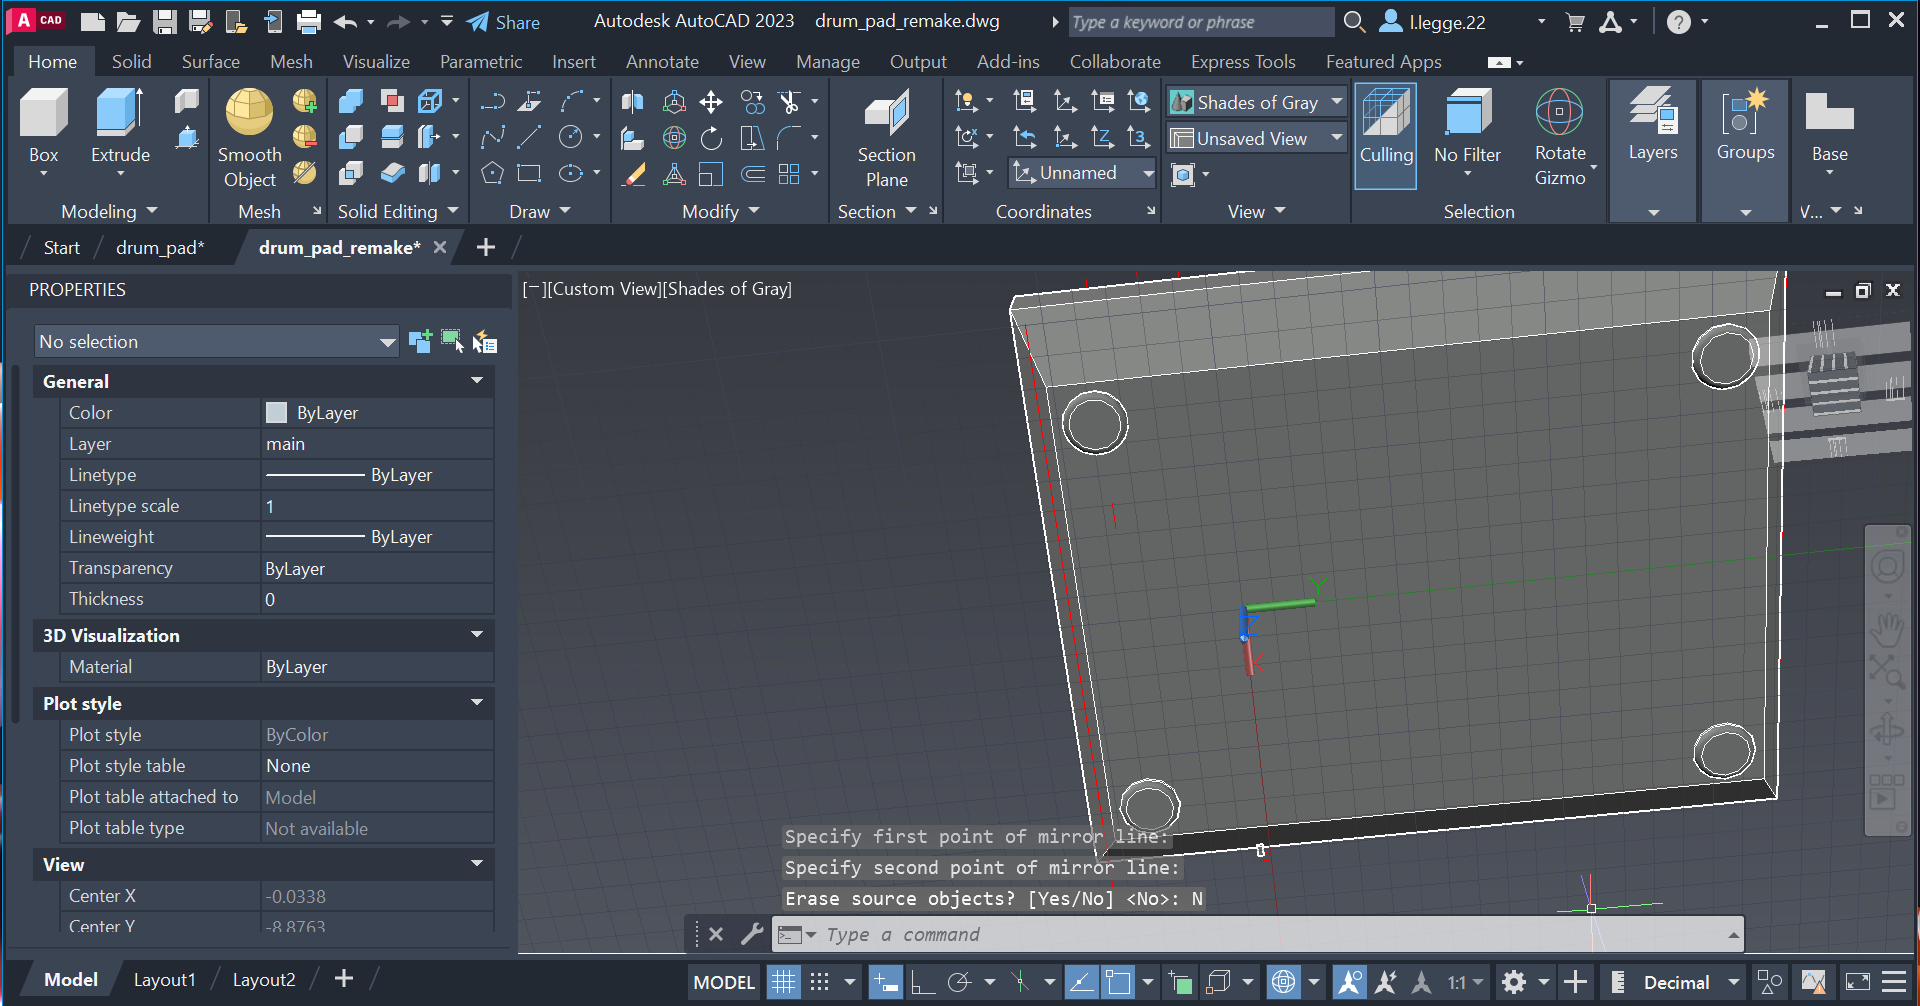
I then used the copy and mirror tool to place the buttons in the correct place.I did this using the guide i had previously drawn.
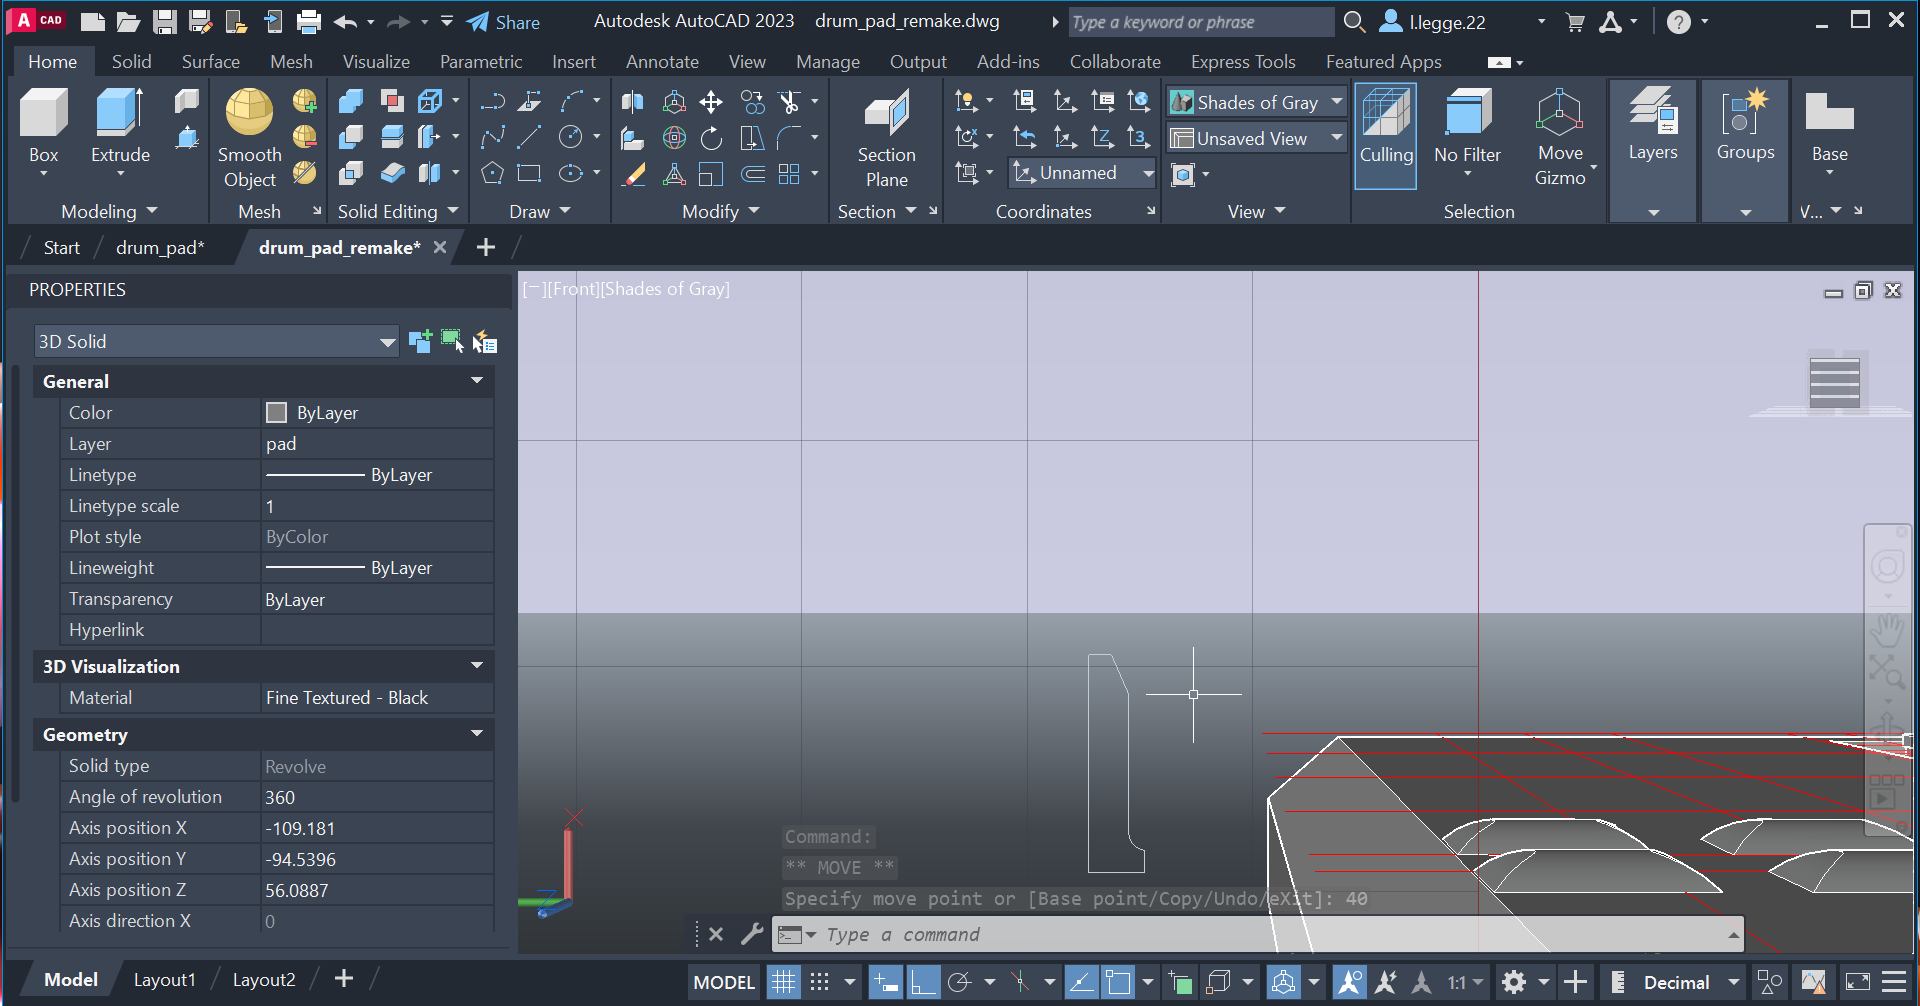
I then used the polyline tool to create half of the volume nob. I only made half of it because i would later revolve it to create a 3D shape. The reason i used the polyline tool is so everything would be one continuse line.
I then revolved it.
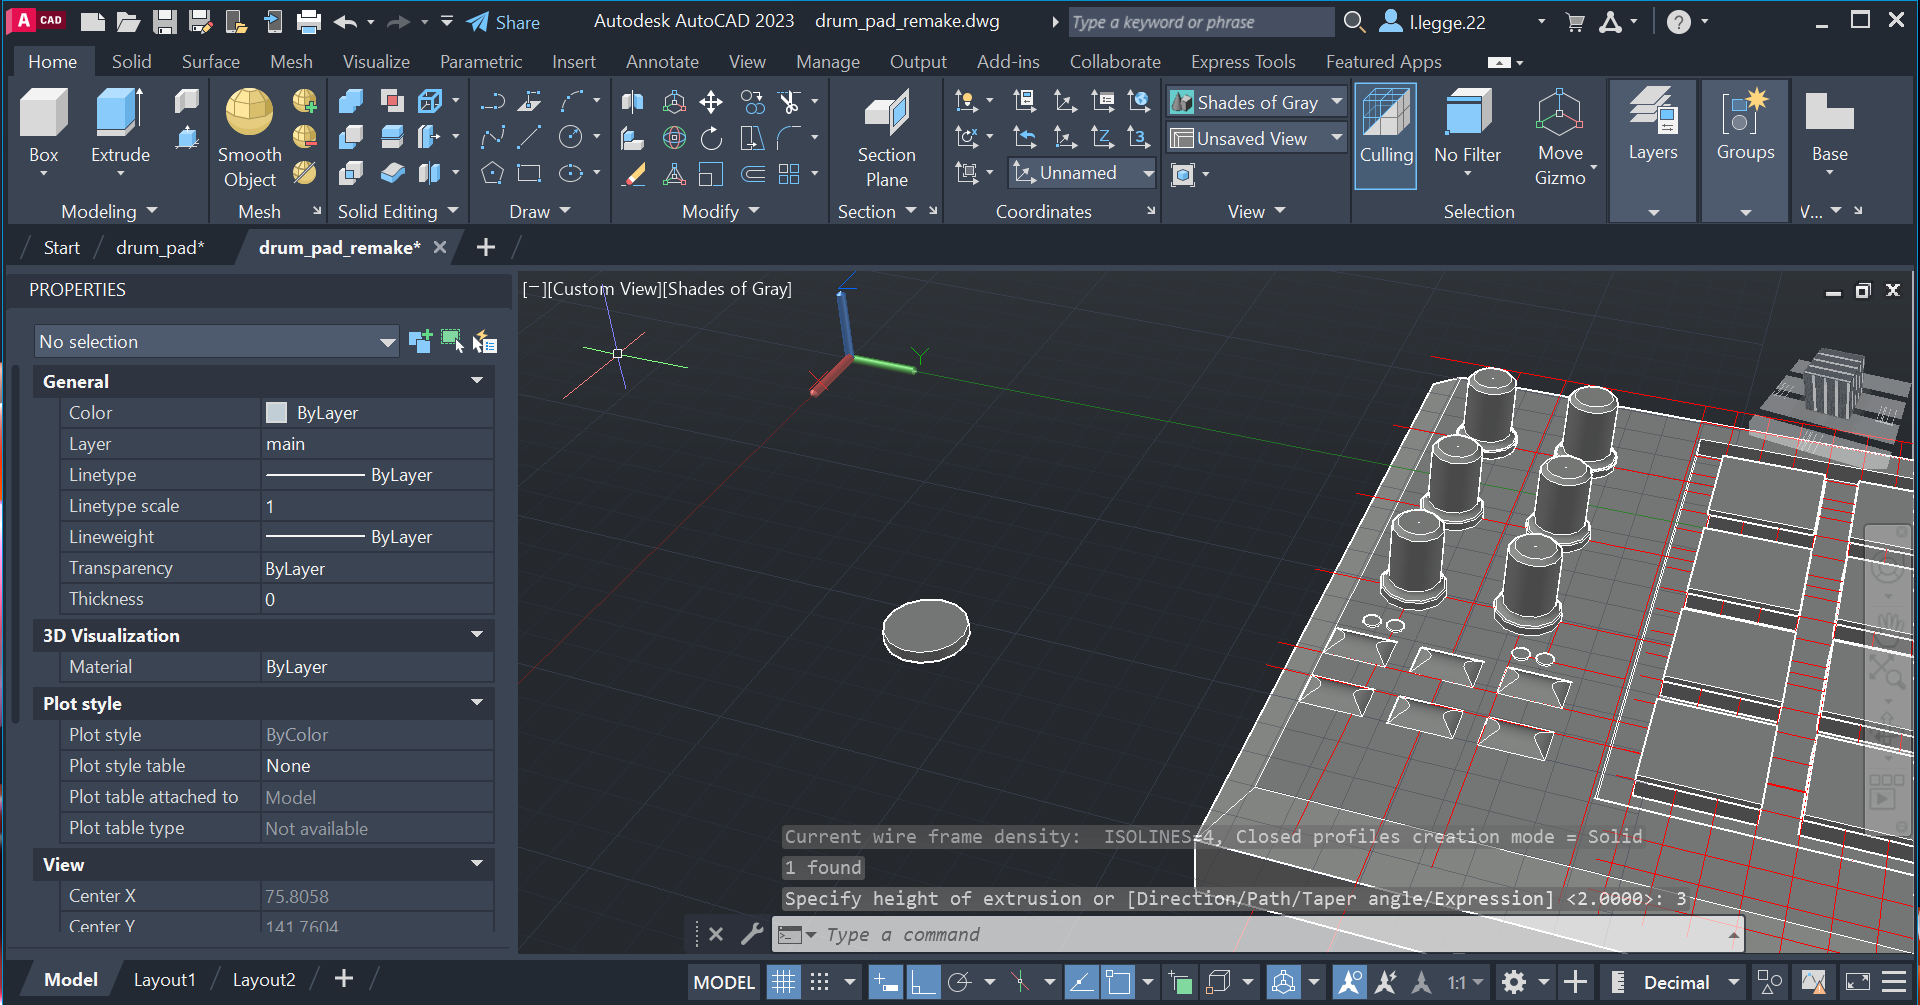
Then using the copy and mirror tool i placed the nobs in the correct place using the guide.
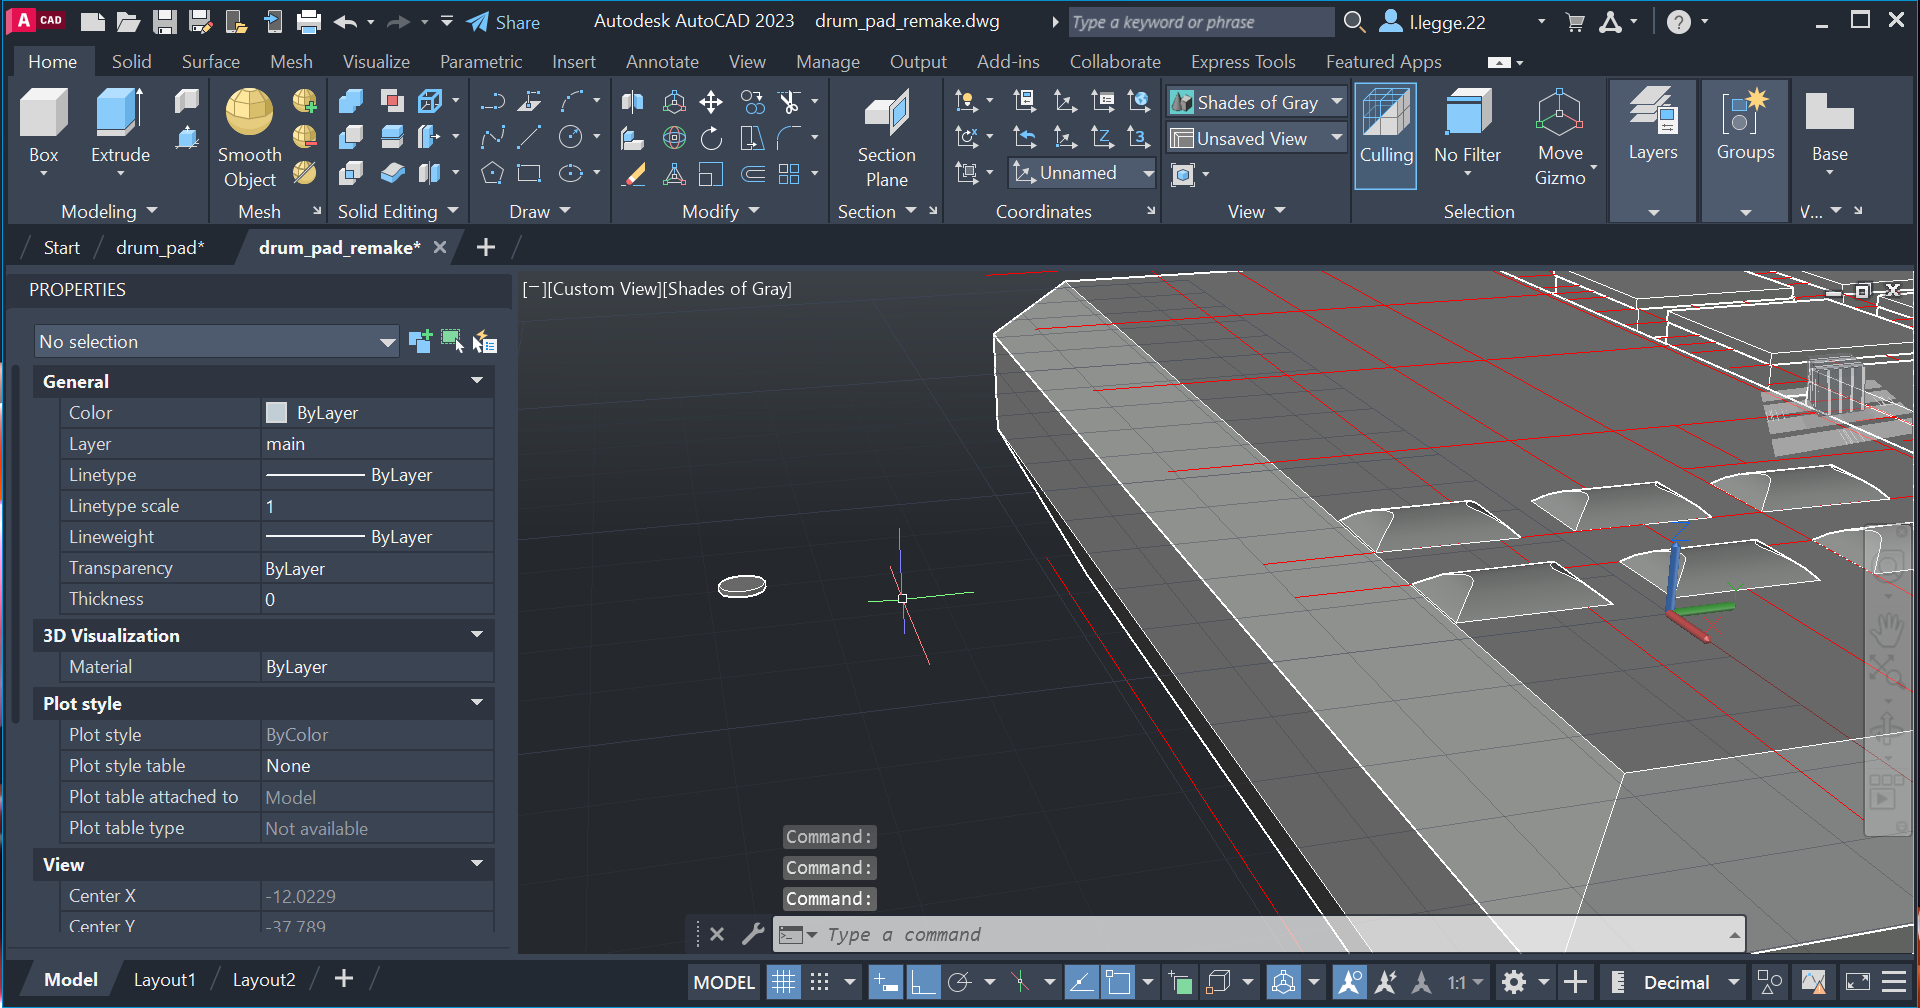
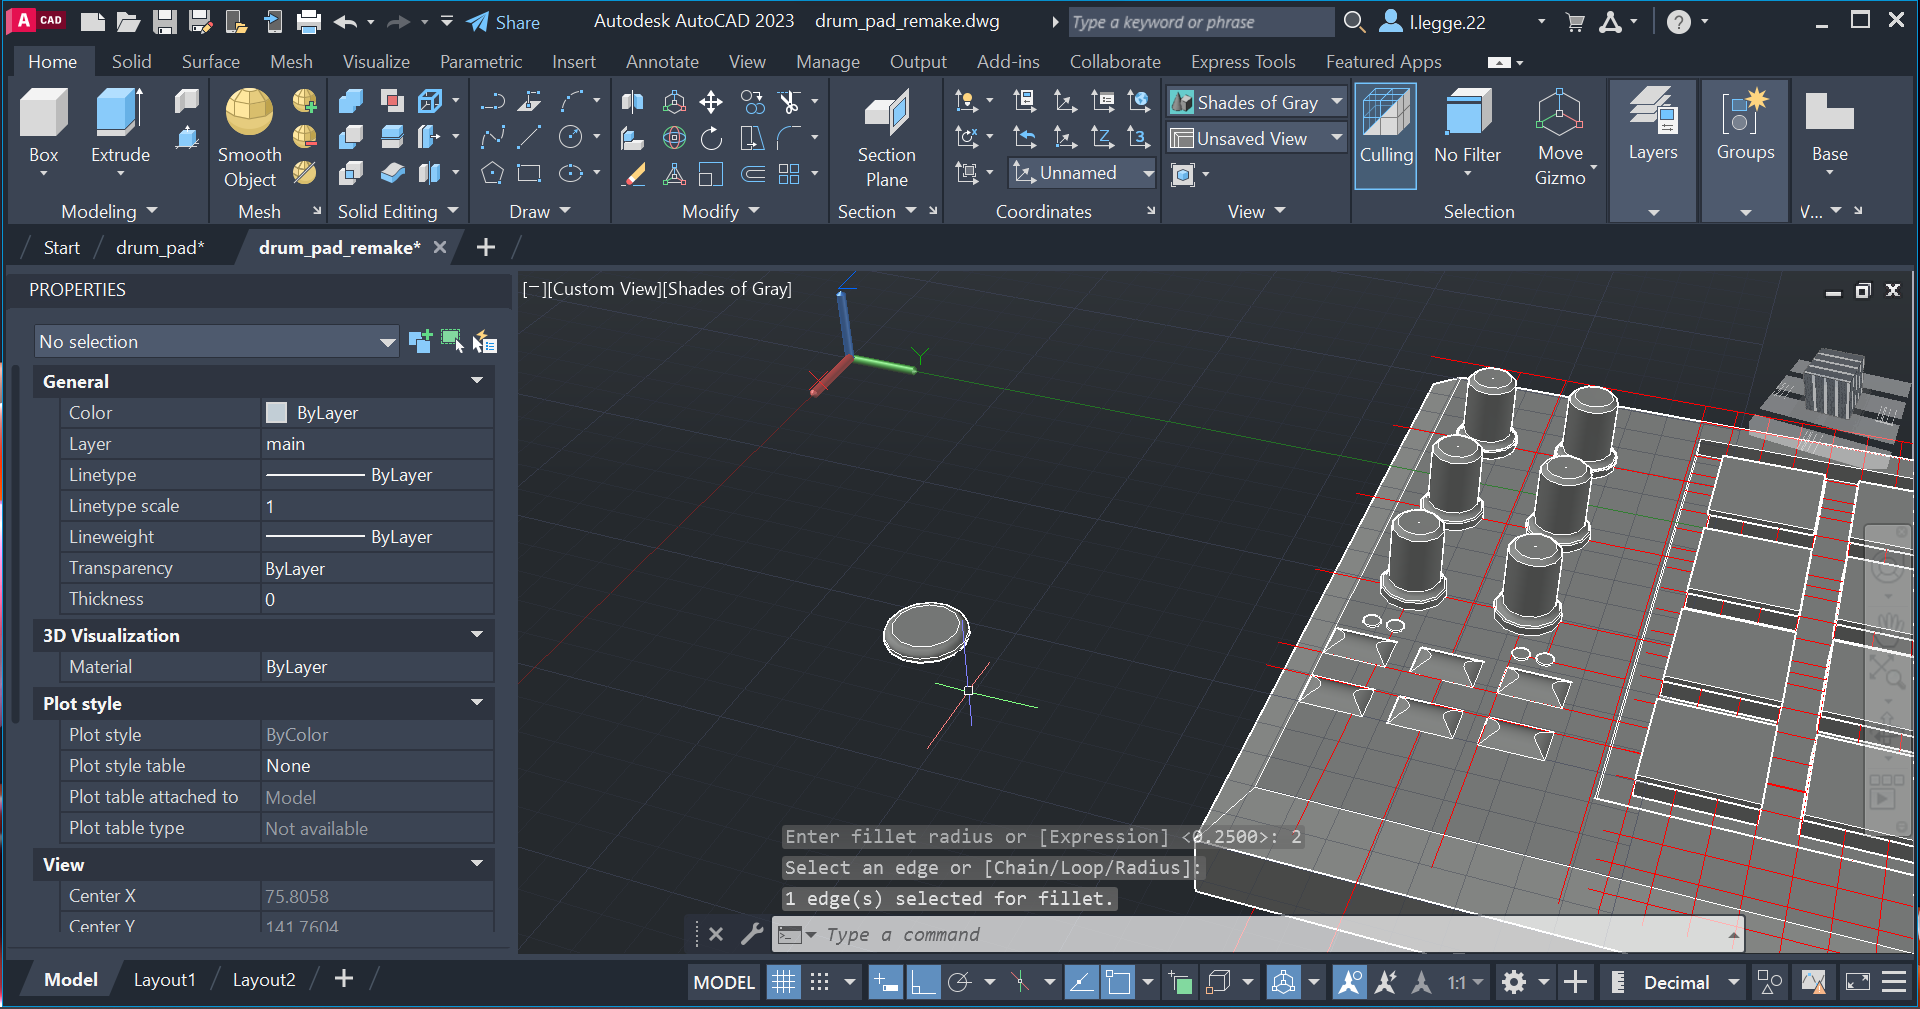
I then created a circle and extruded it a little bit, this would later for the rubber grips on the bottom of the product.
I then used the fillet tool to round of the sides whilst keeping the top of the shape flat.
Using the rotate tool i flipped the rubber grip over 180 degrees and then used the move tool to move it to the bottom corner of the model.
I then used the mirror tool to create identicale copies of the rubber grips and also to get the placement accurate.
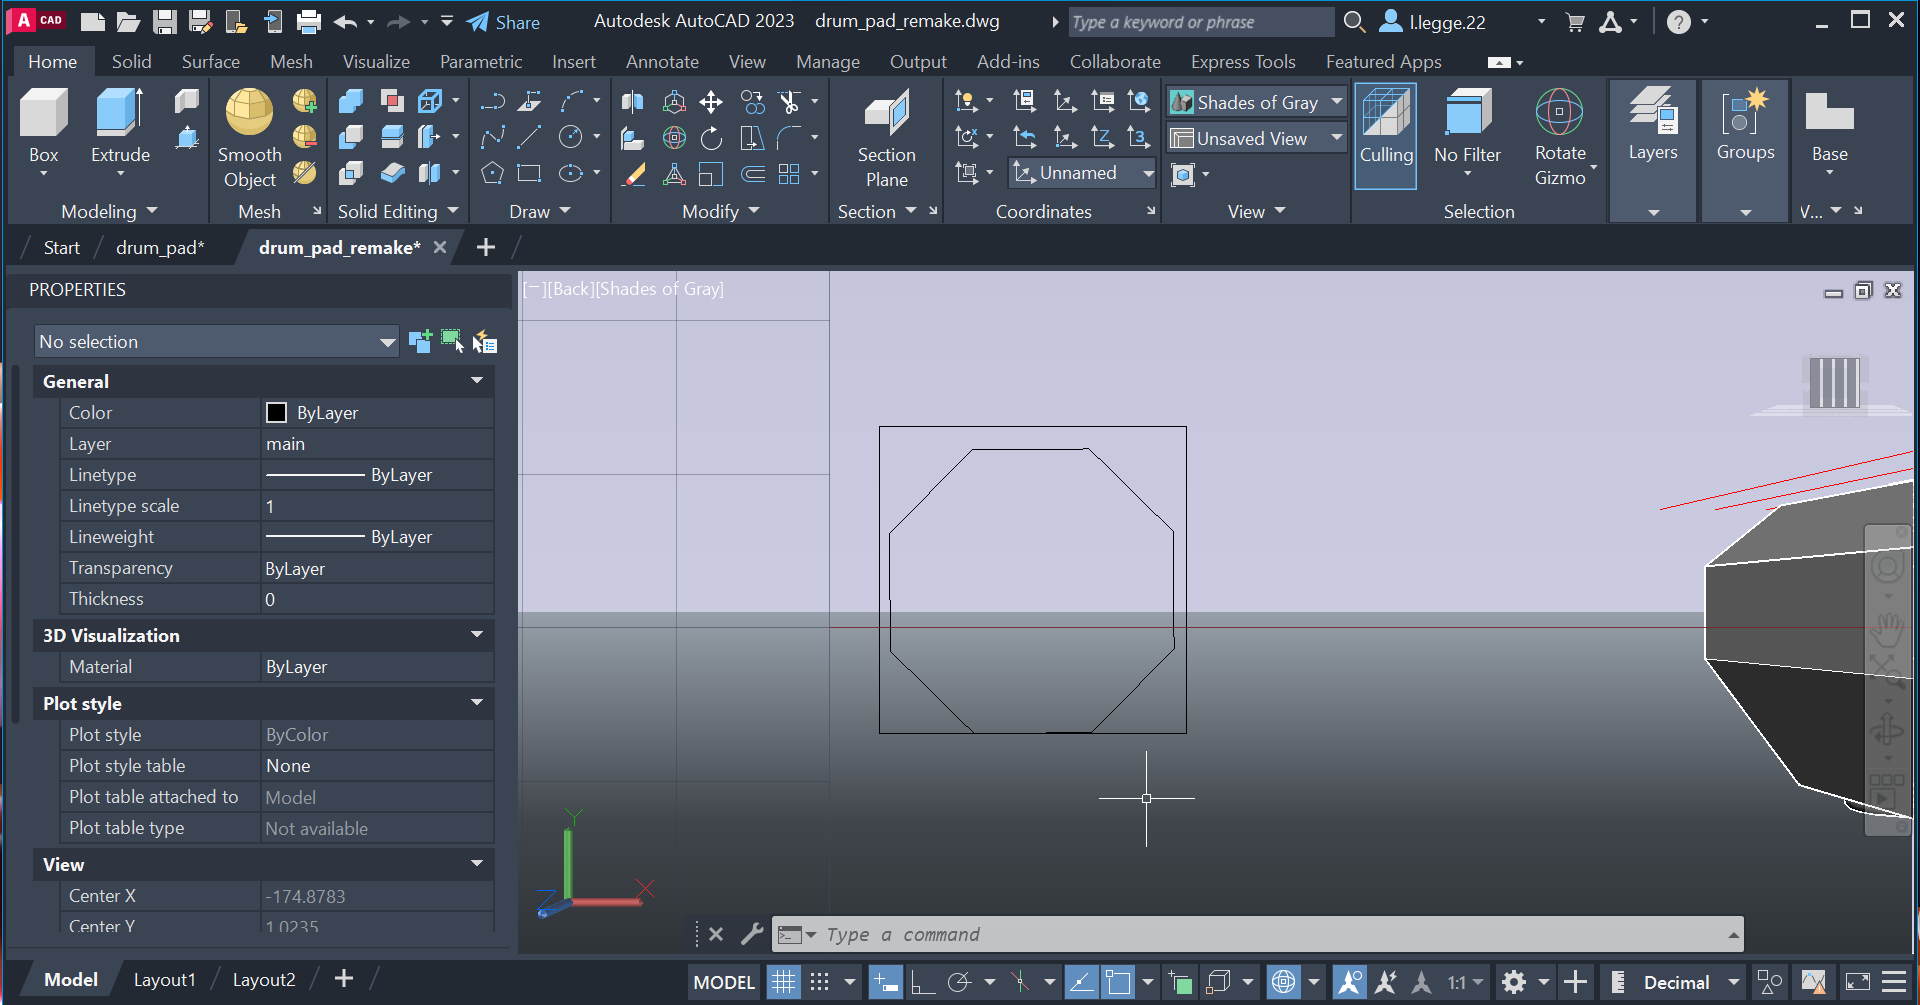
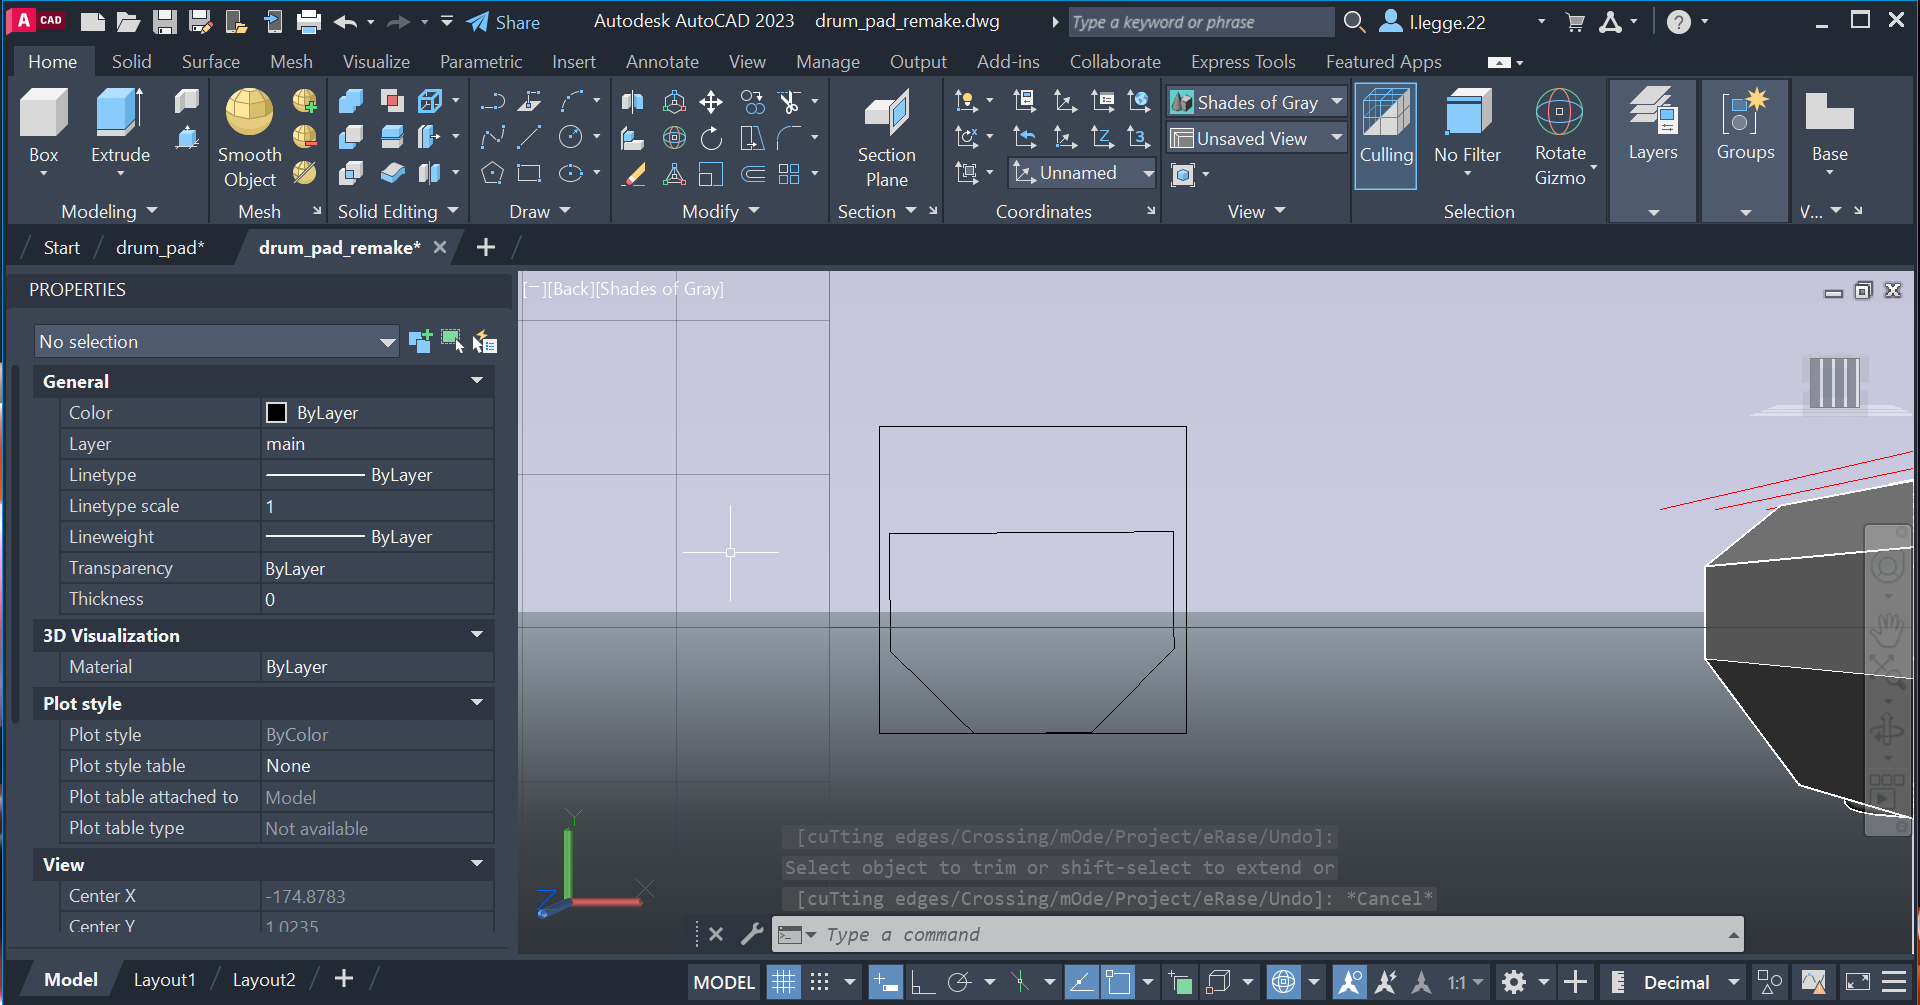
I then created a square and then i used the polygon tool to create an octogon inside of the square.
I then used the line tool to connect 2 points on the octogon to make the top flat, and i then trimmed off the exsess line.
Here is what it looked like after i neatened it up.
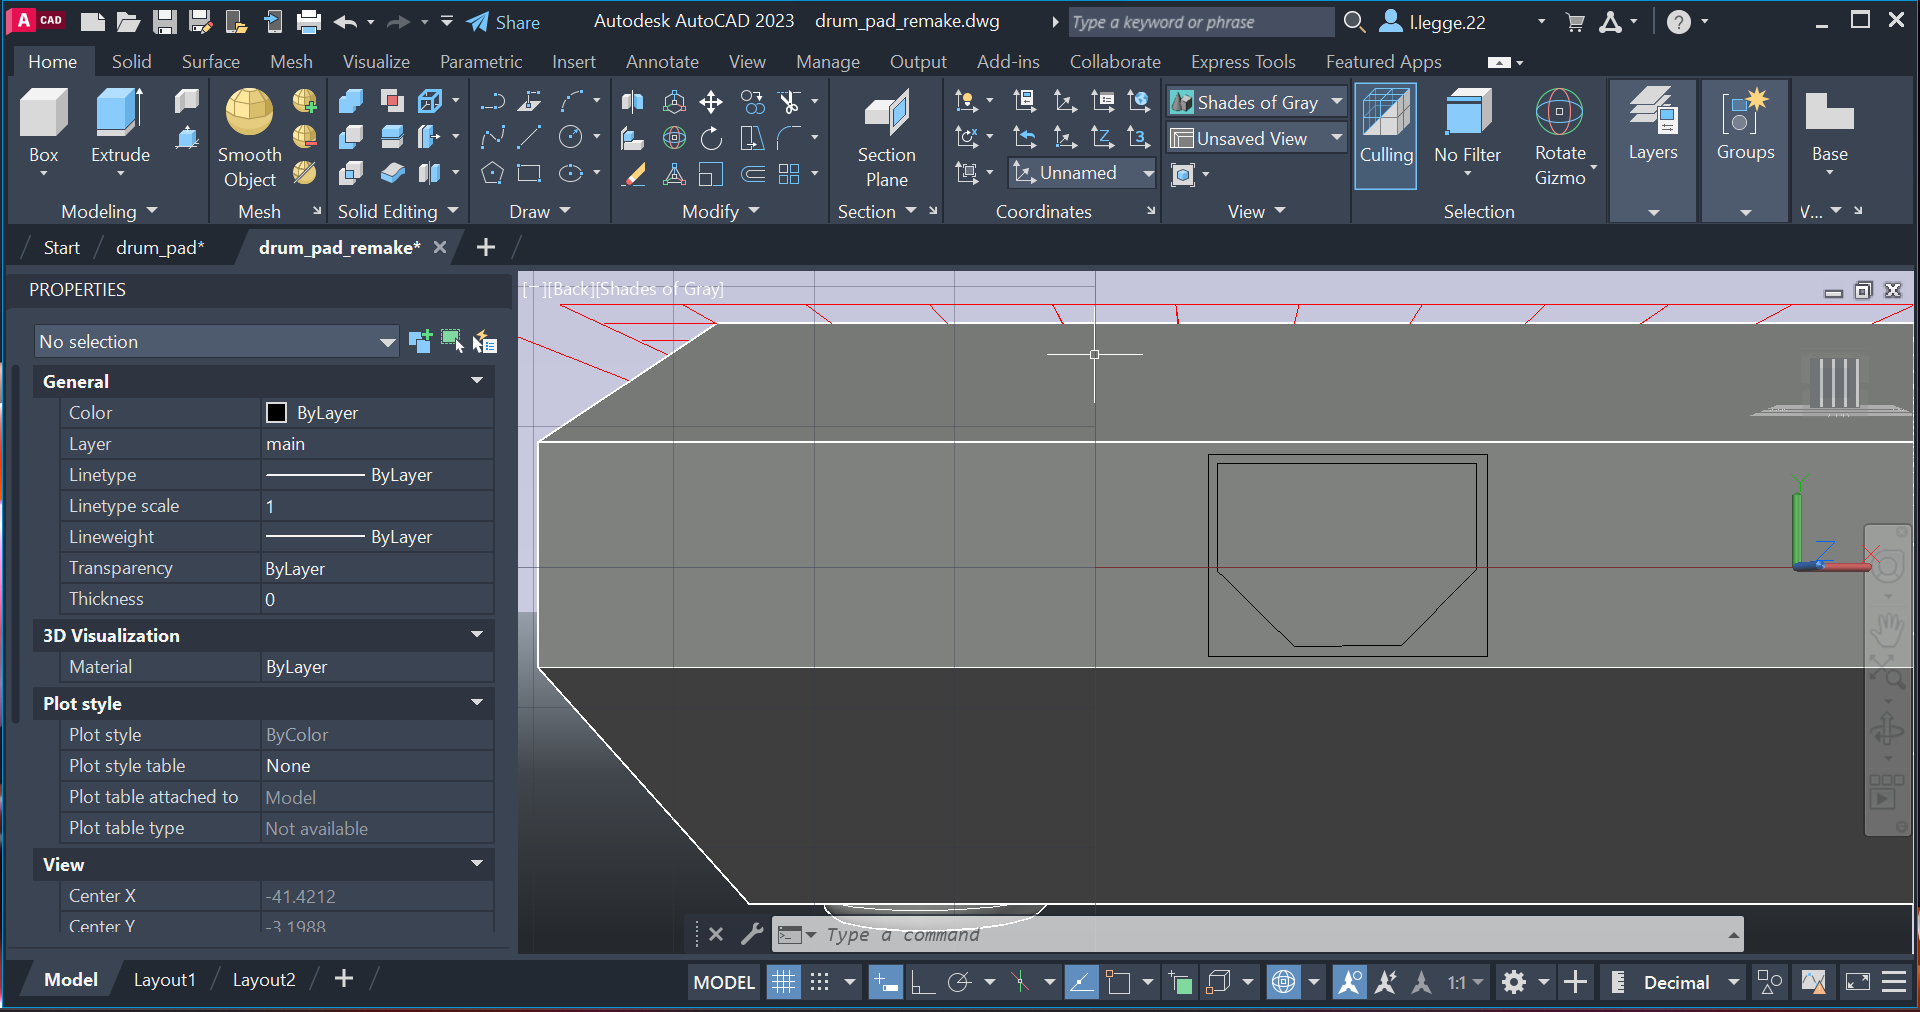
I then moved the shape id just drawn to the back of the model. This new shape would later become the usb port.
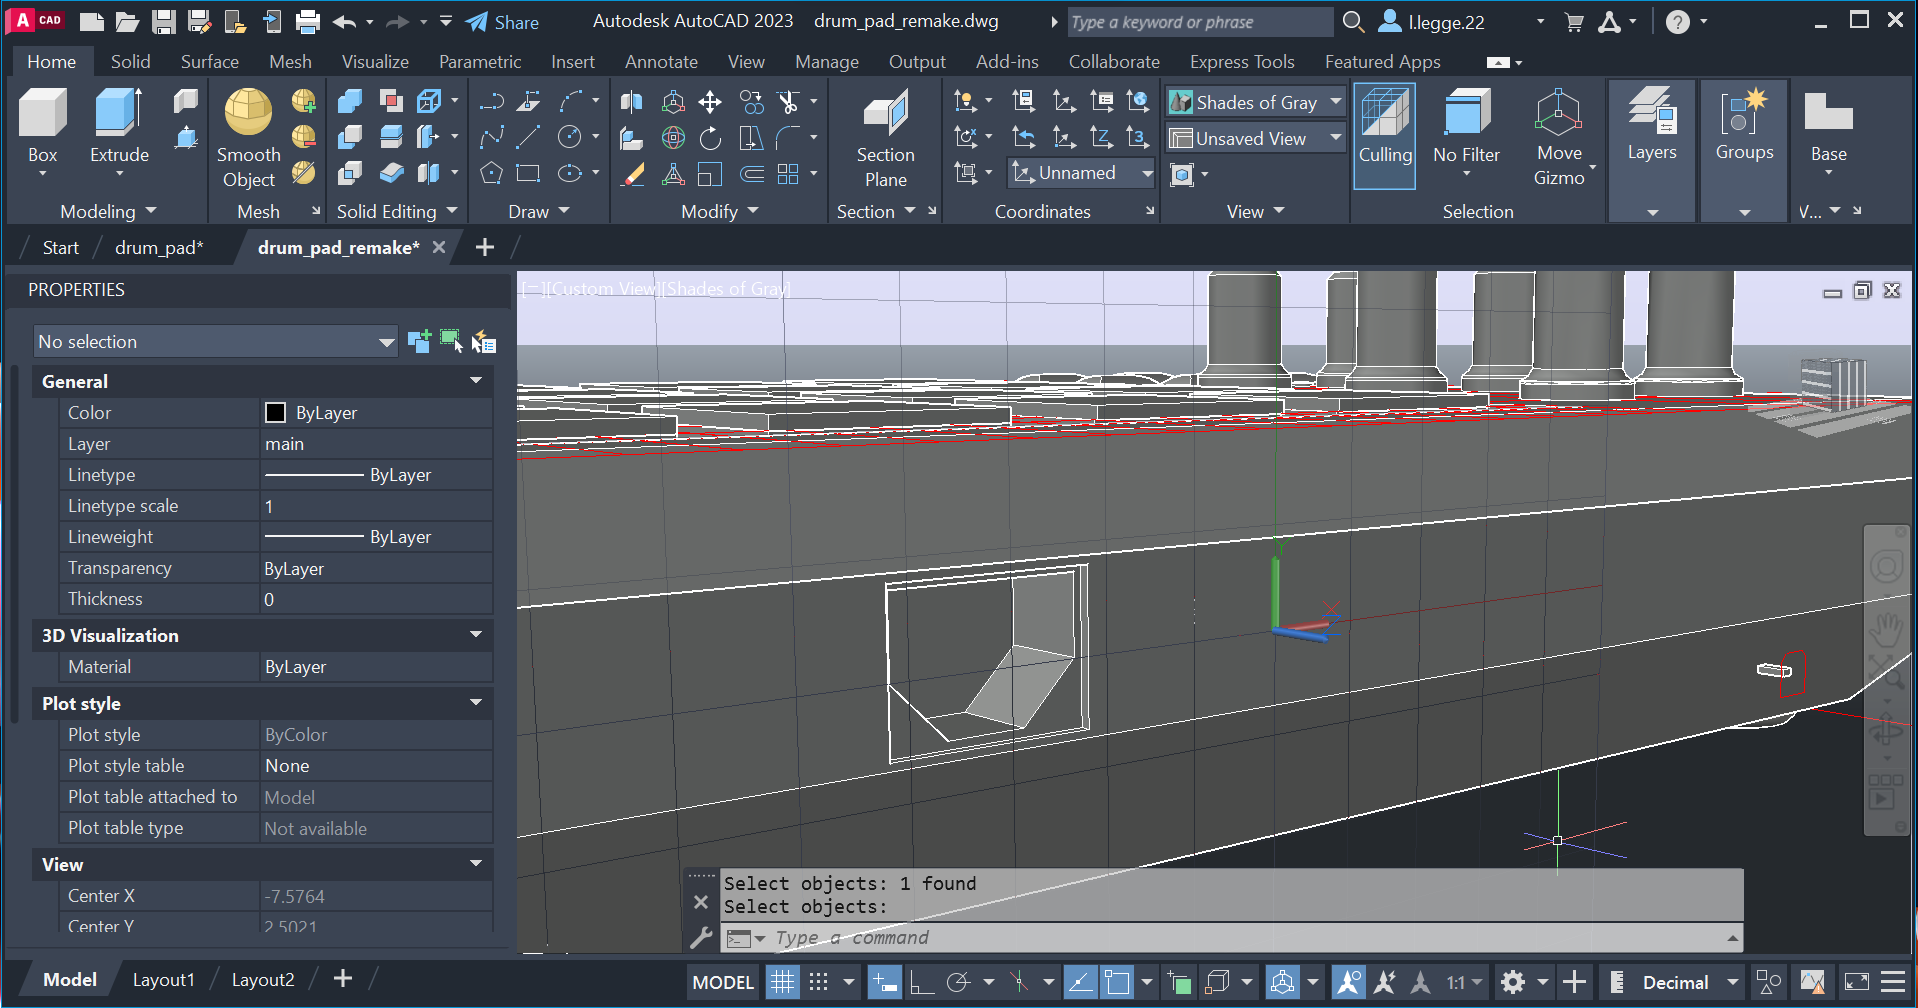
I then extruded what was once and octogon inwards and used the substract tool to create the hole.
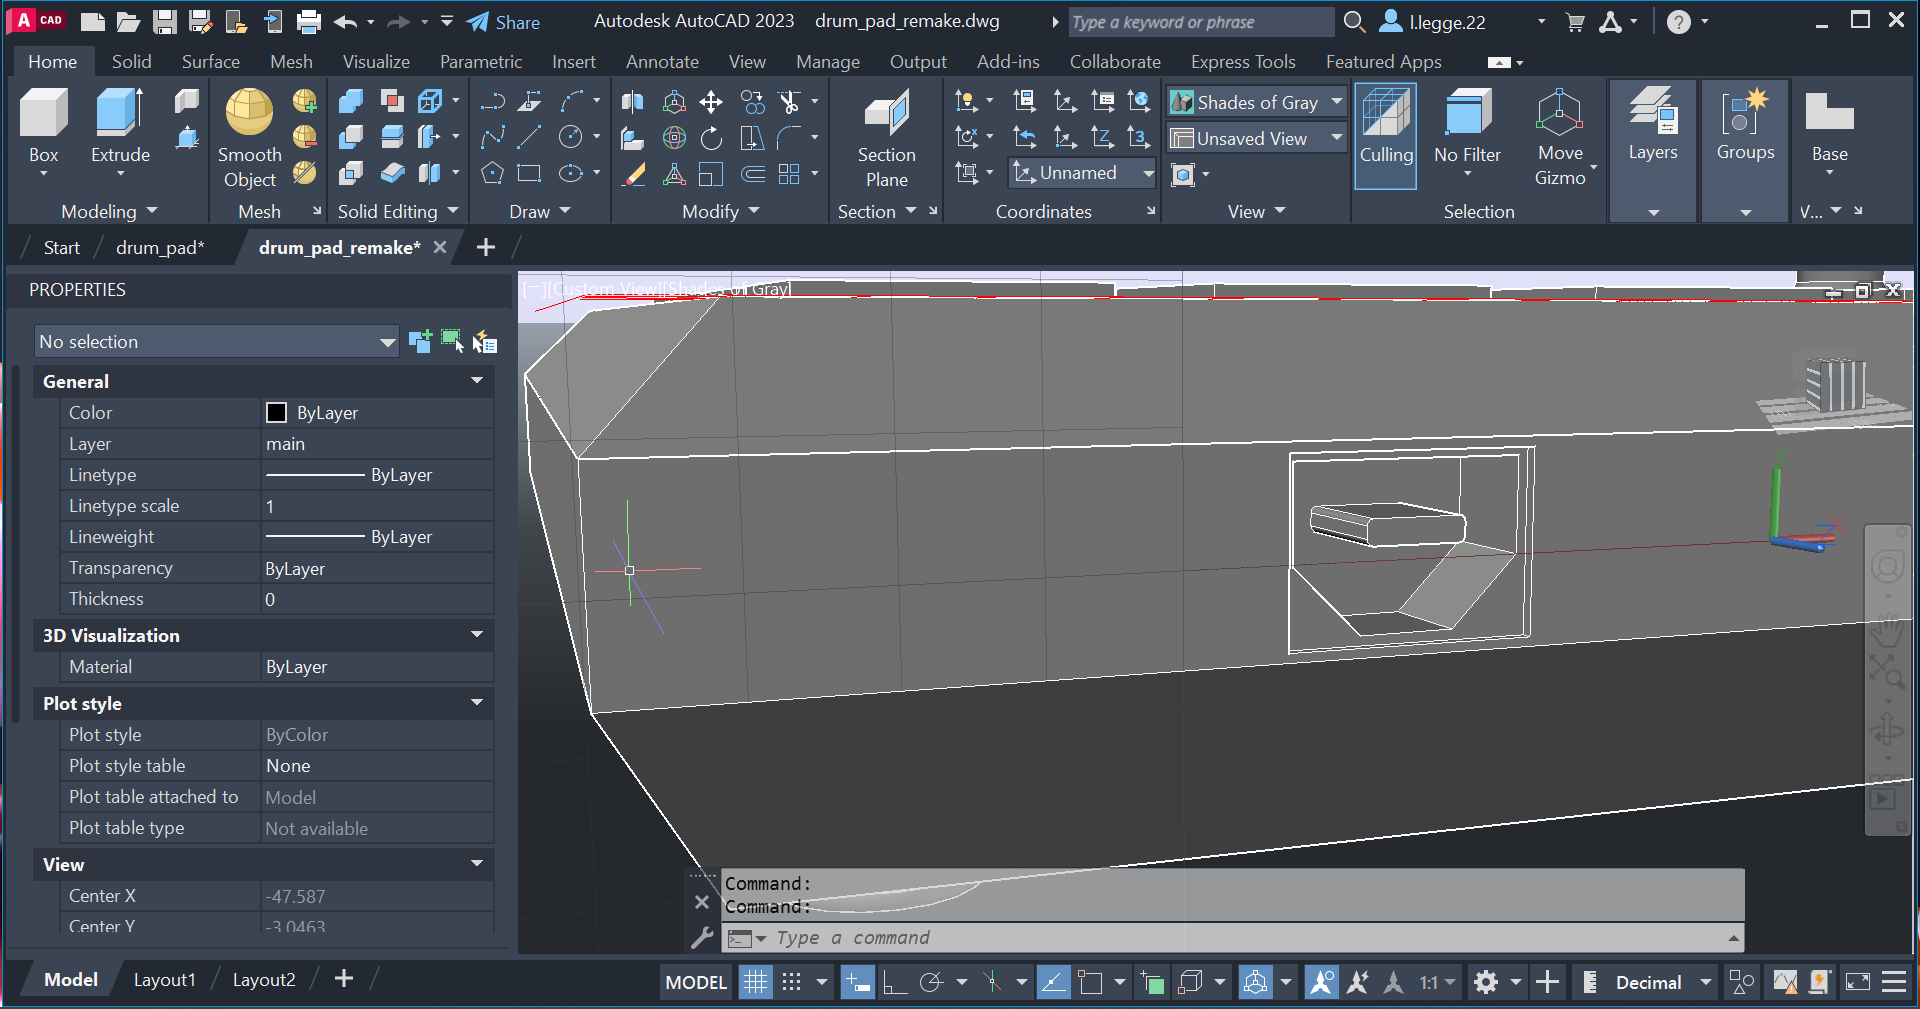
I then created a rectangle with rounded edges to be in the center of the usb port to act as the connecter. I then extruded the rounded edge rectangle.
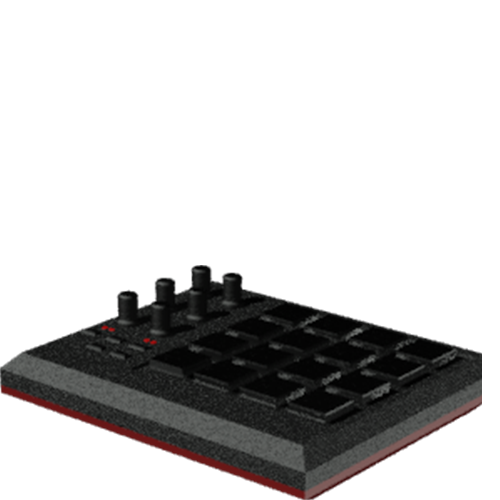
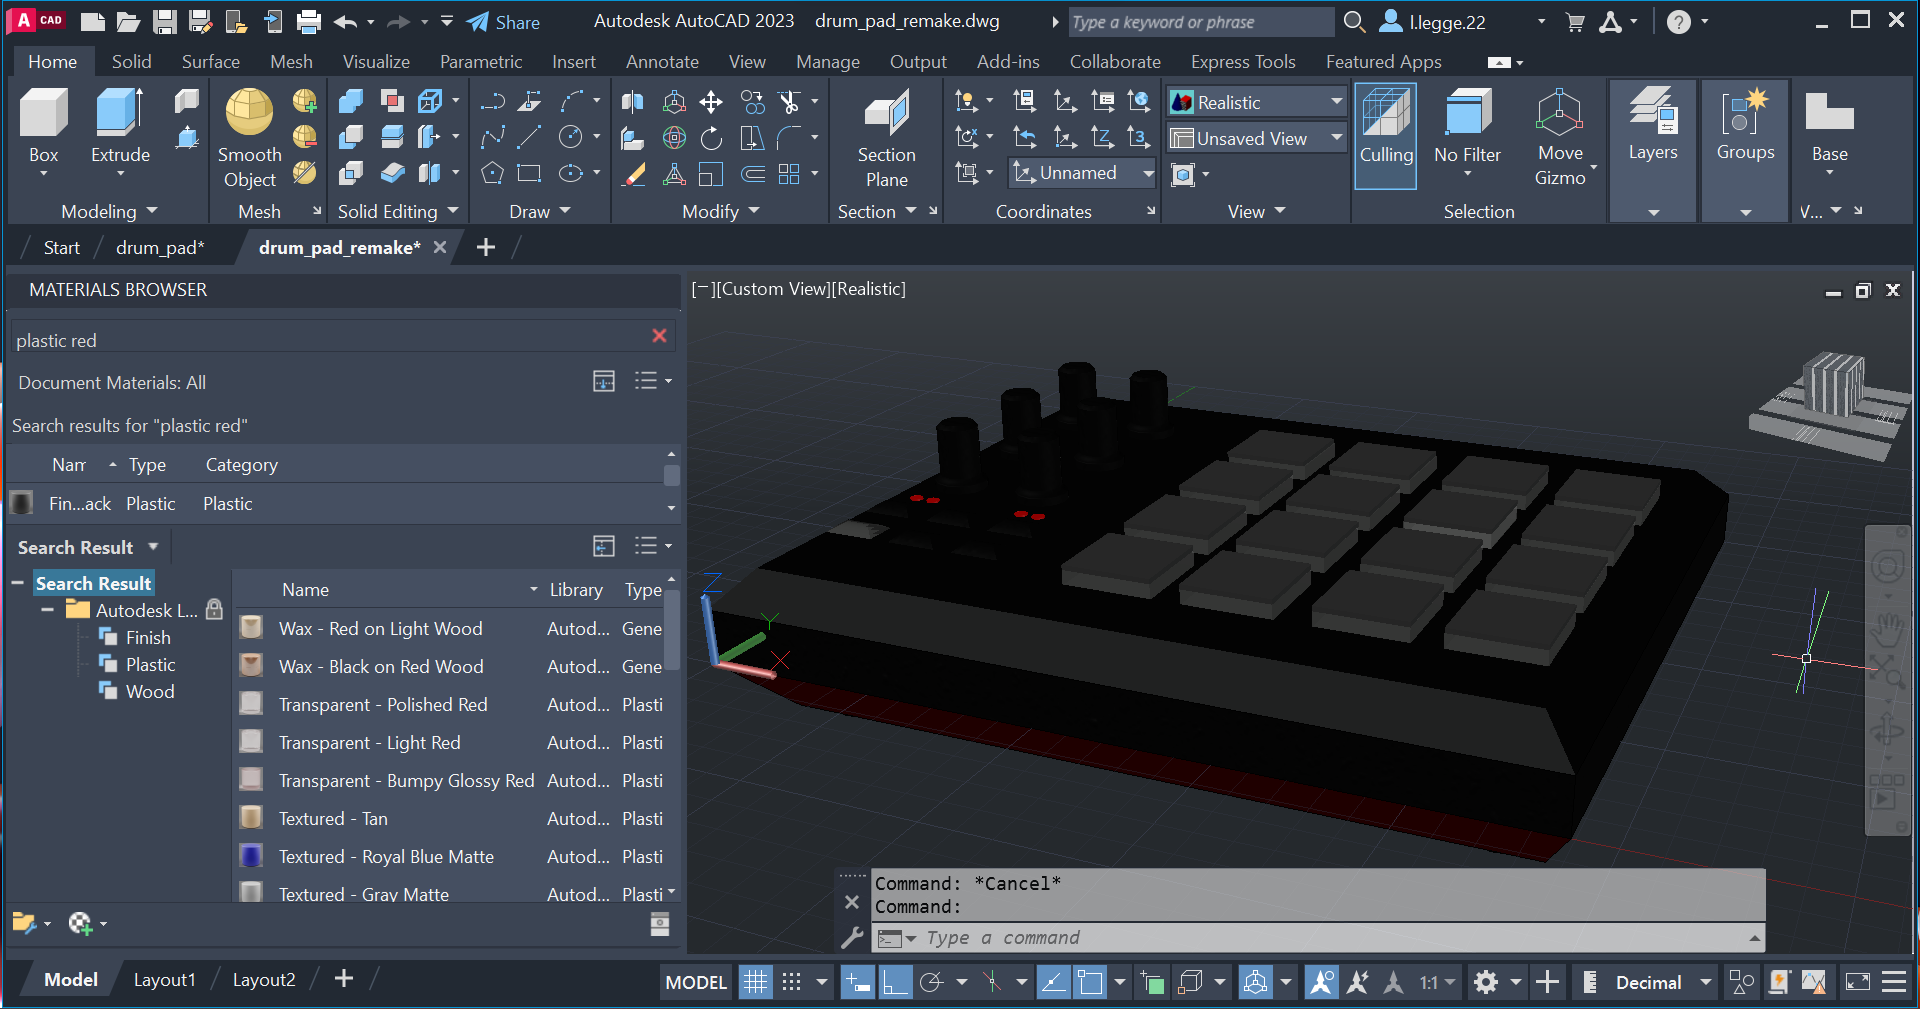
After that i then added the textures and materials to the model and it was done.