For this project i was tasked to make a fixing bracket by following a set of instructions.
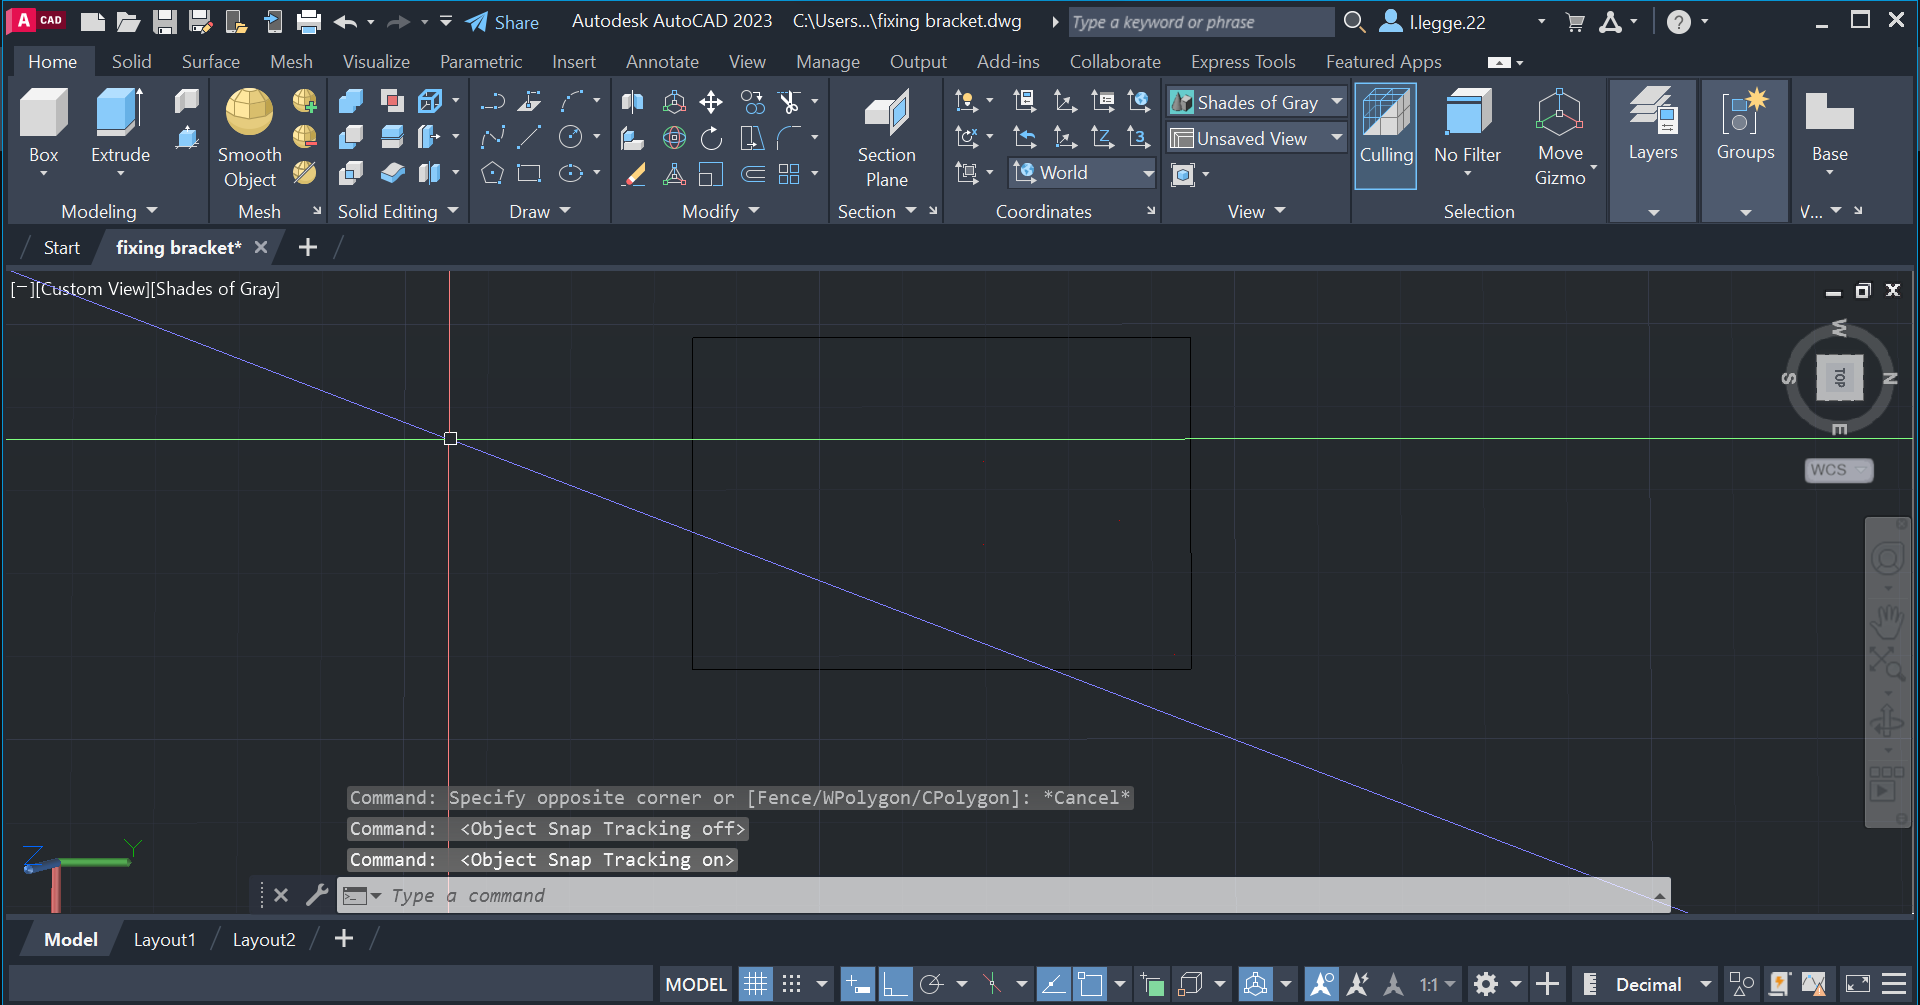
First of all i started by drawing a rectangle to the correct size.
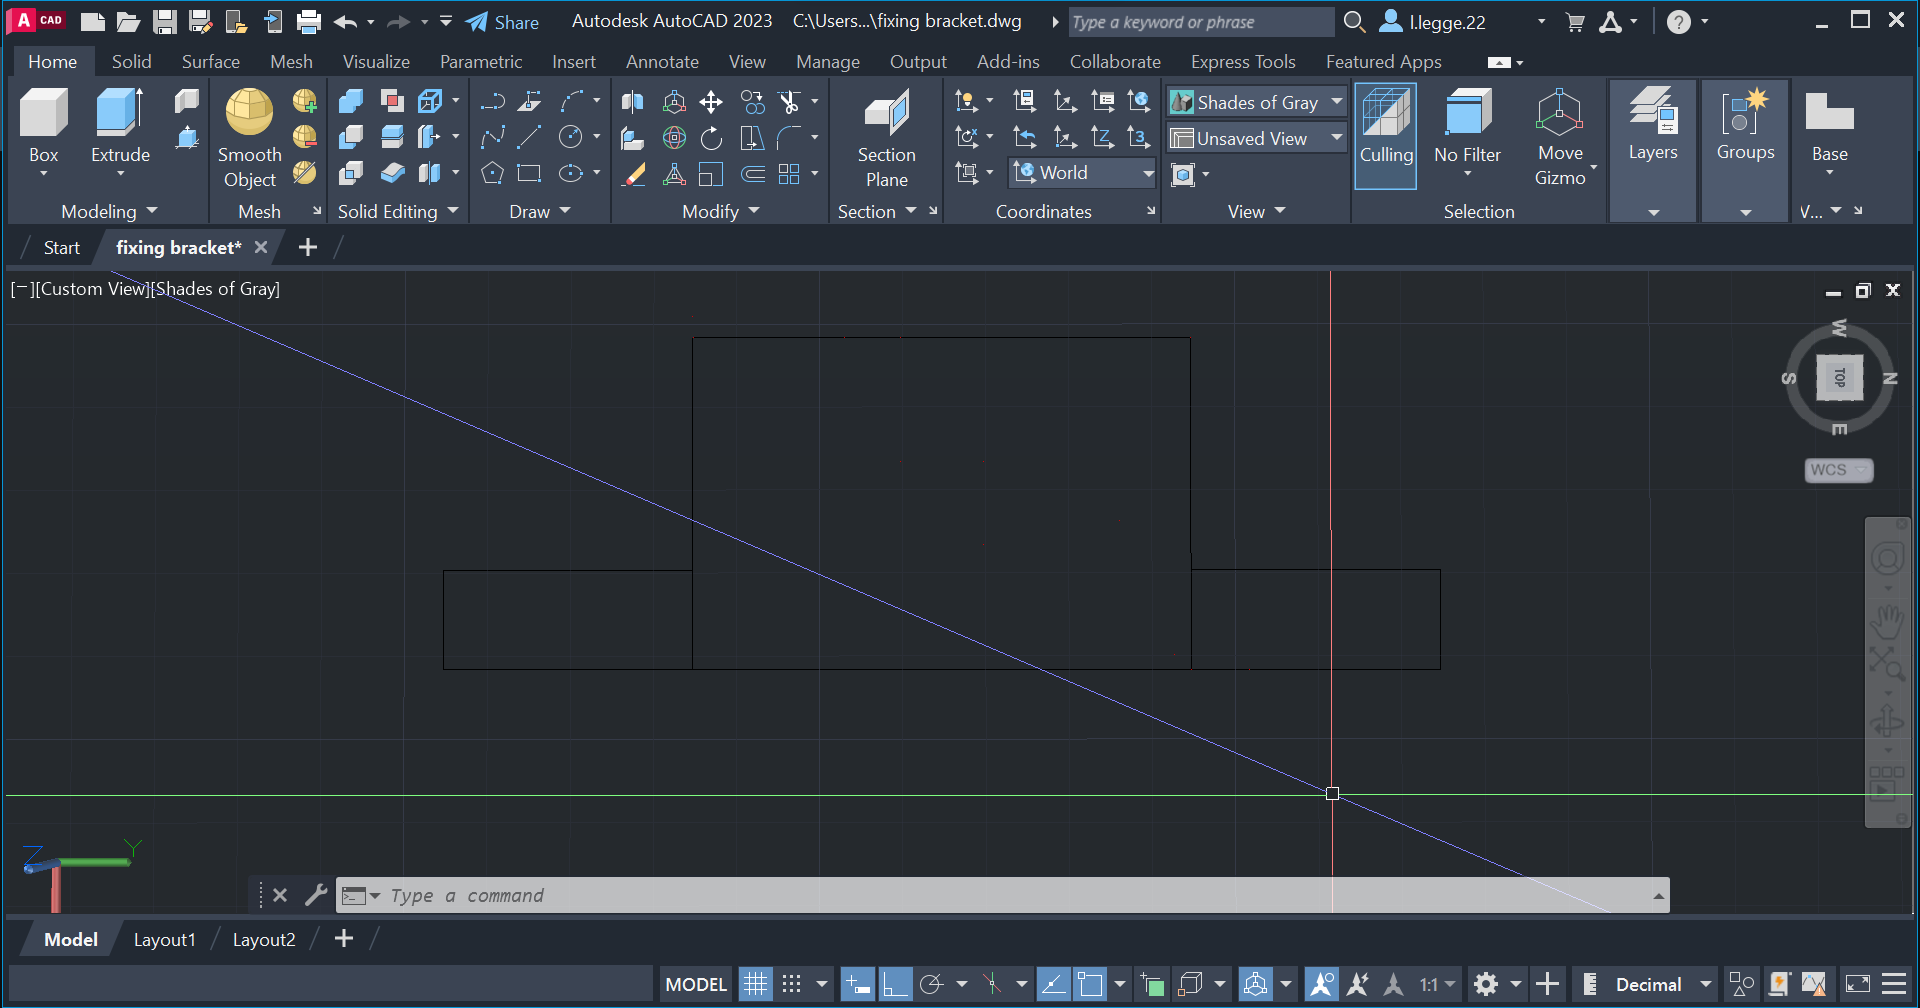
I then create another rectangle toward the bottom of the design, annd i then used the mirror tool to speed up my work and make sure it was even.
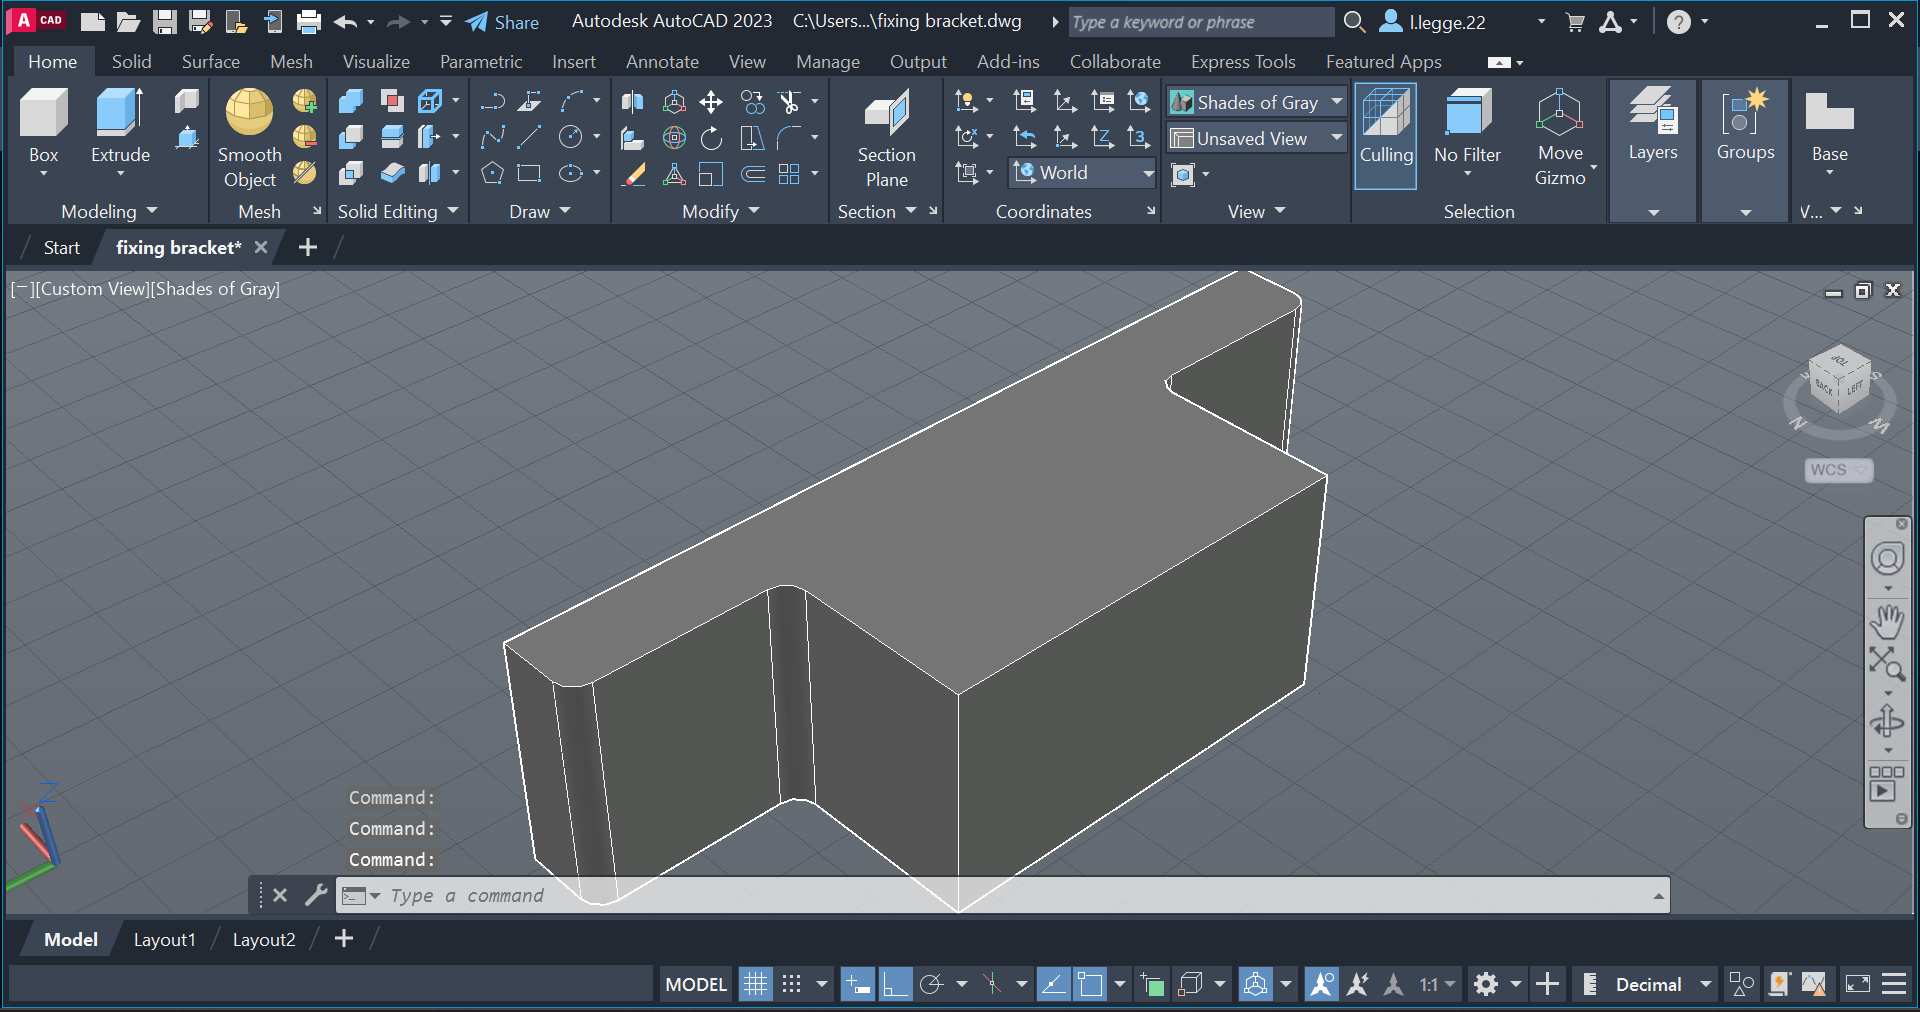
I then used the trim tool to remove all of the unwanted lines.I also used the fillet tool to round off some of the edges.
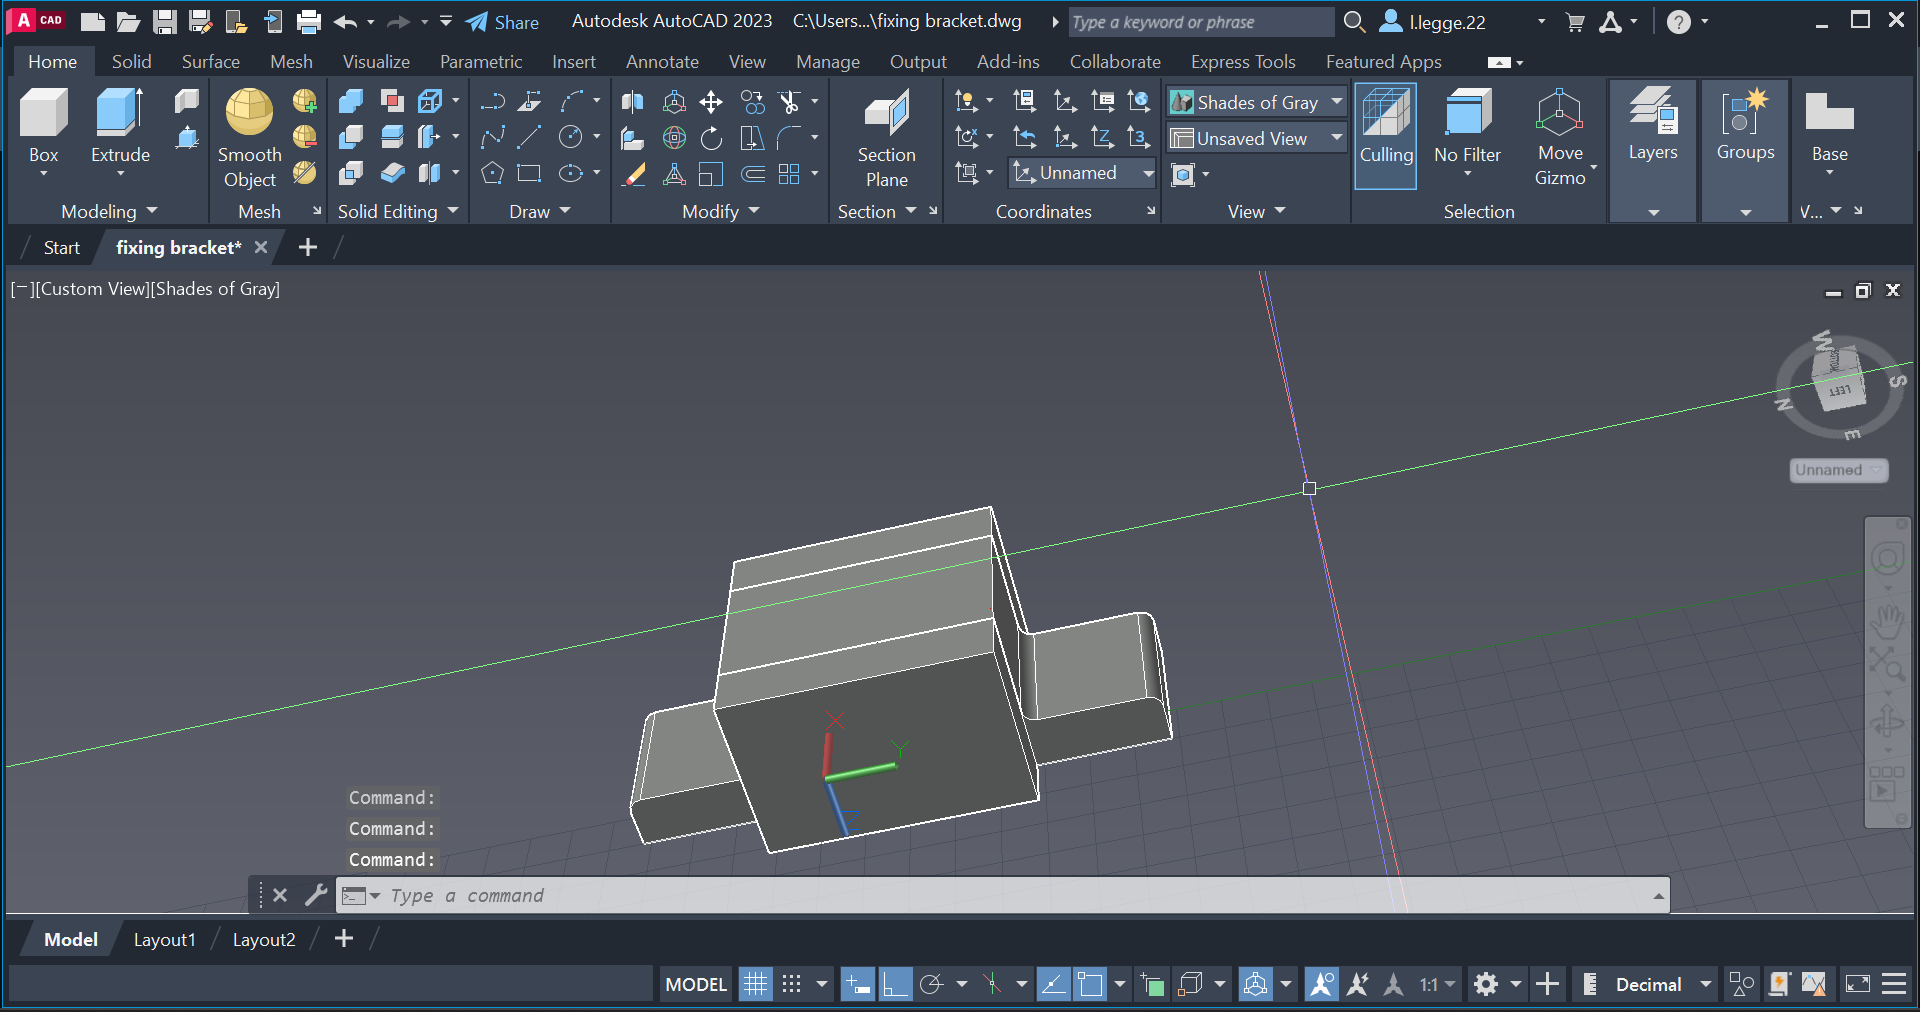
After that i then extruded the shape.
I then used the presspull tool to add some extra height to the middle section of the model.
I then used a draft layer in order to mark out some mid points and create guidence for myself later.
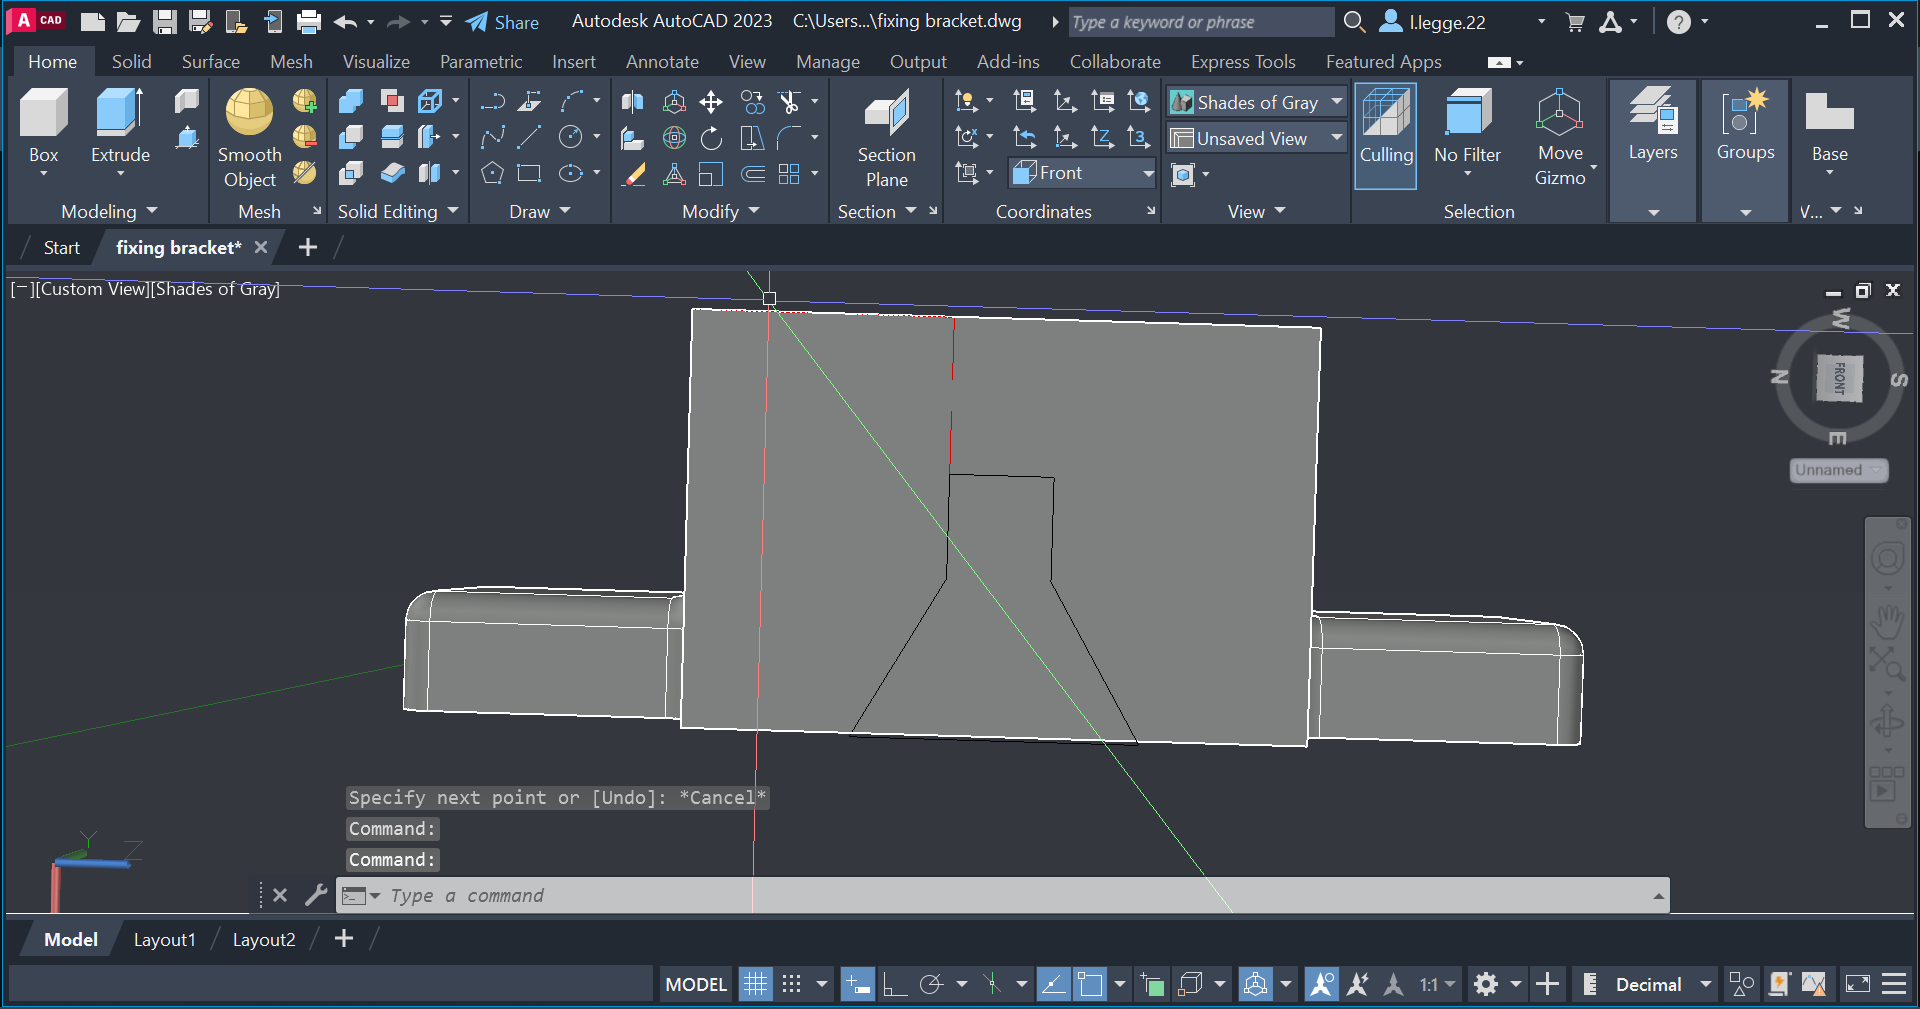
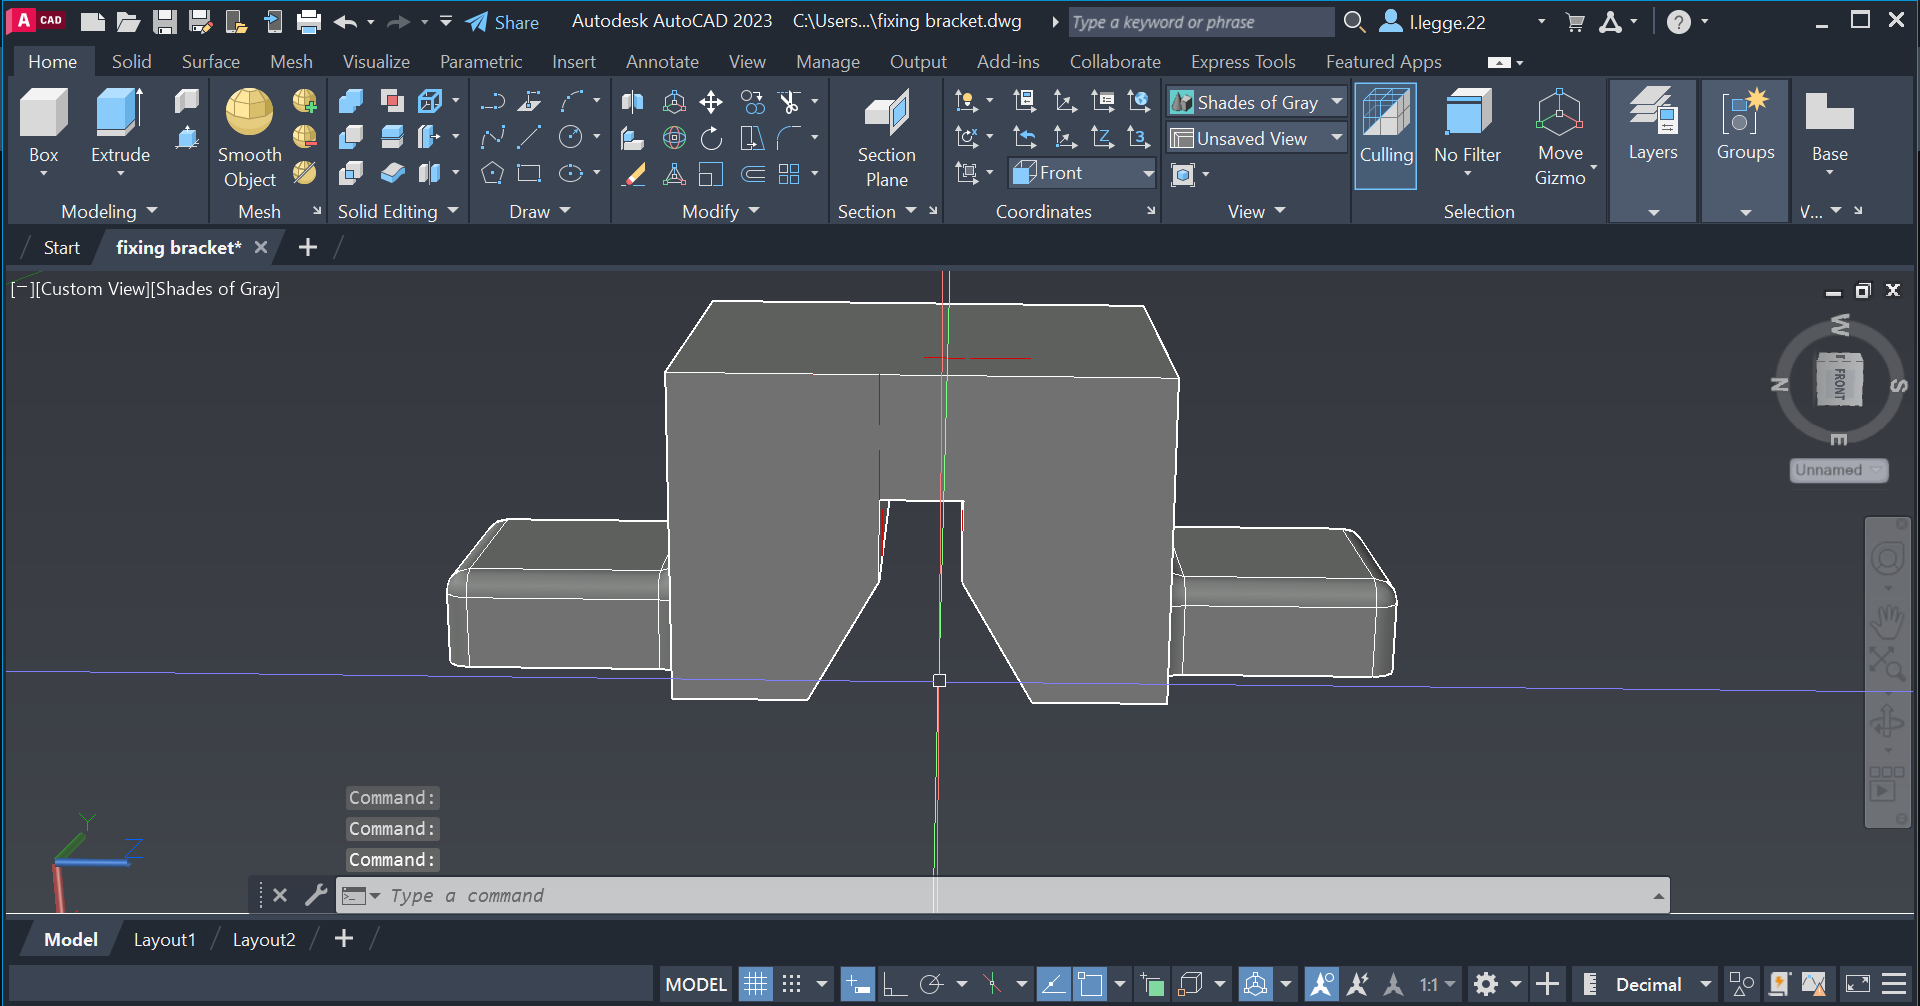
I then used the guide lines to draw out a shape in the middle, this was done by simply using the poly line tool.
I then extruded and moved the design to it was through both sides of the model and then i used the substract tool.
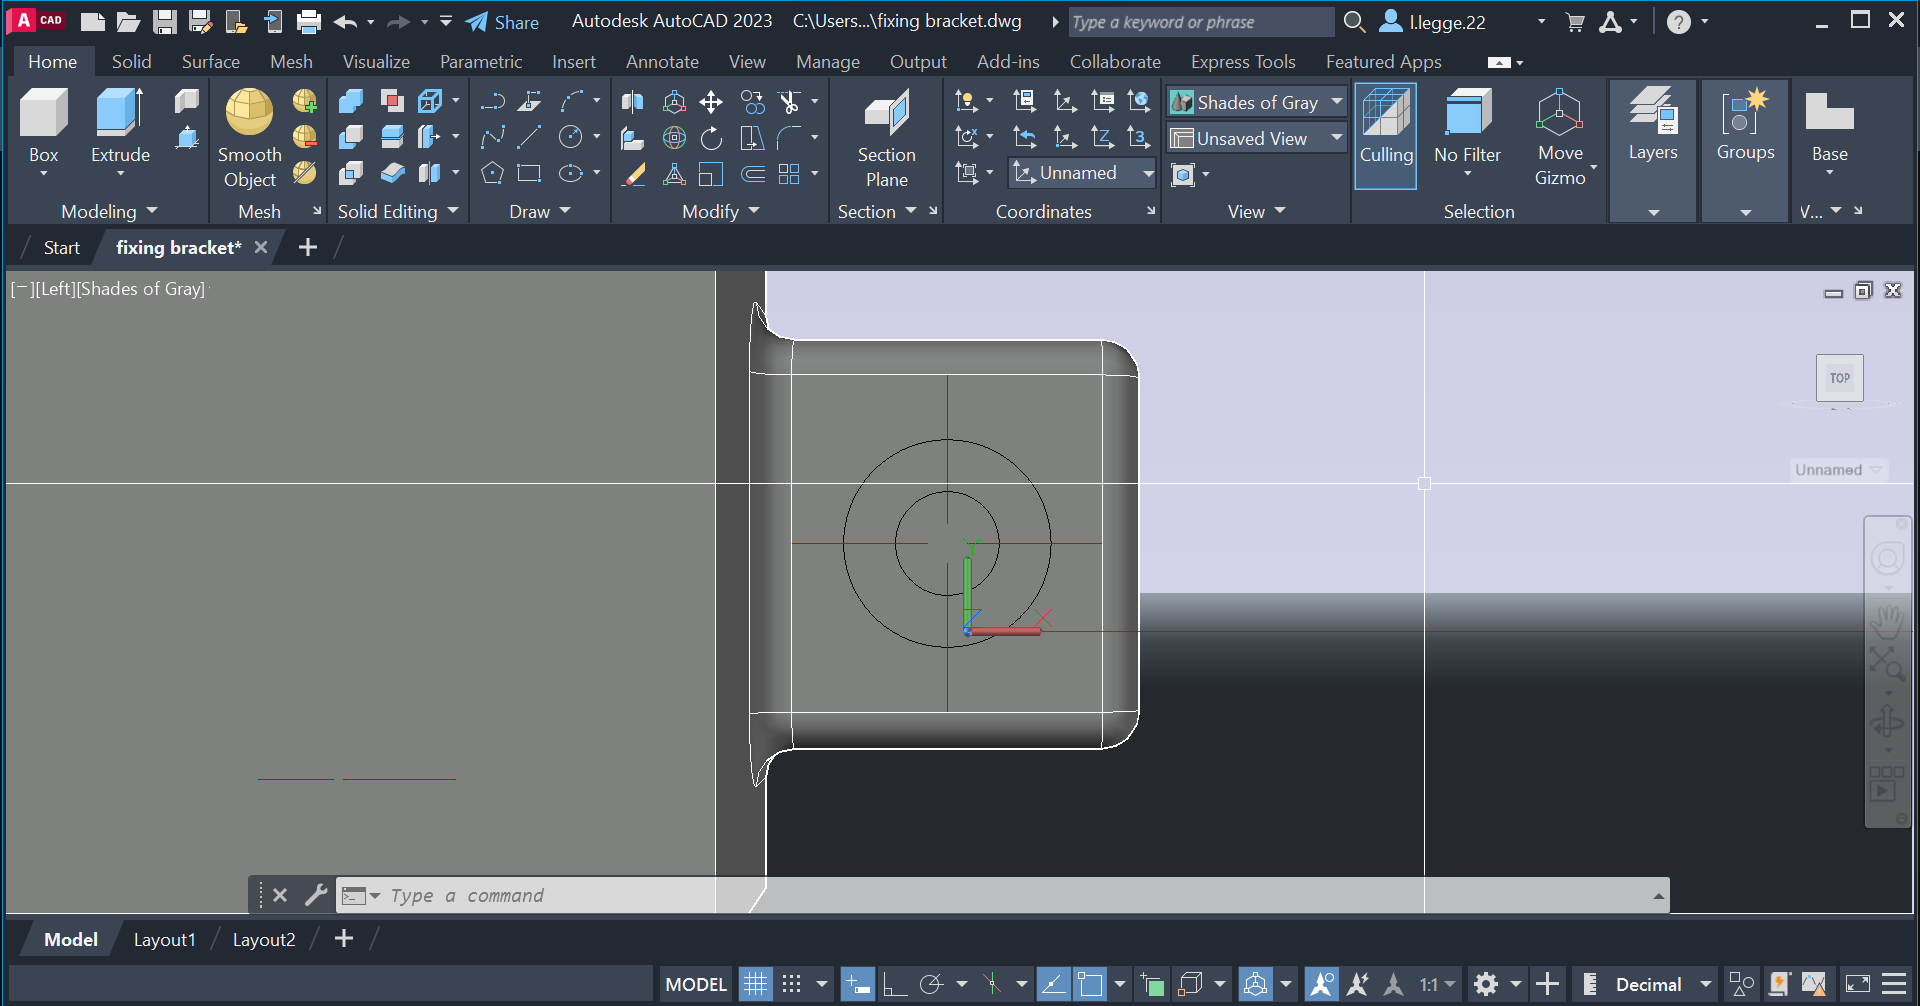
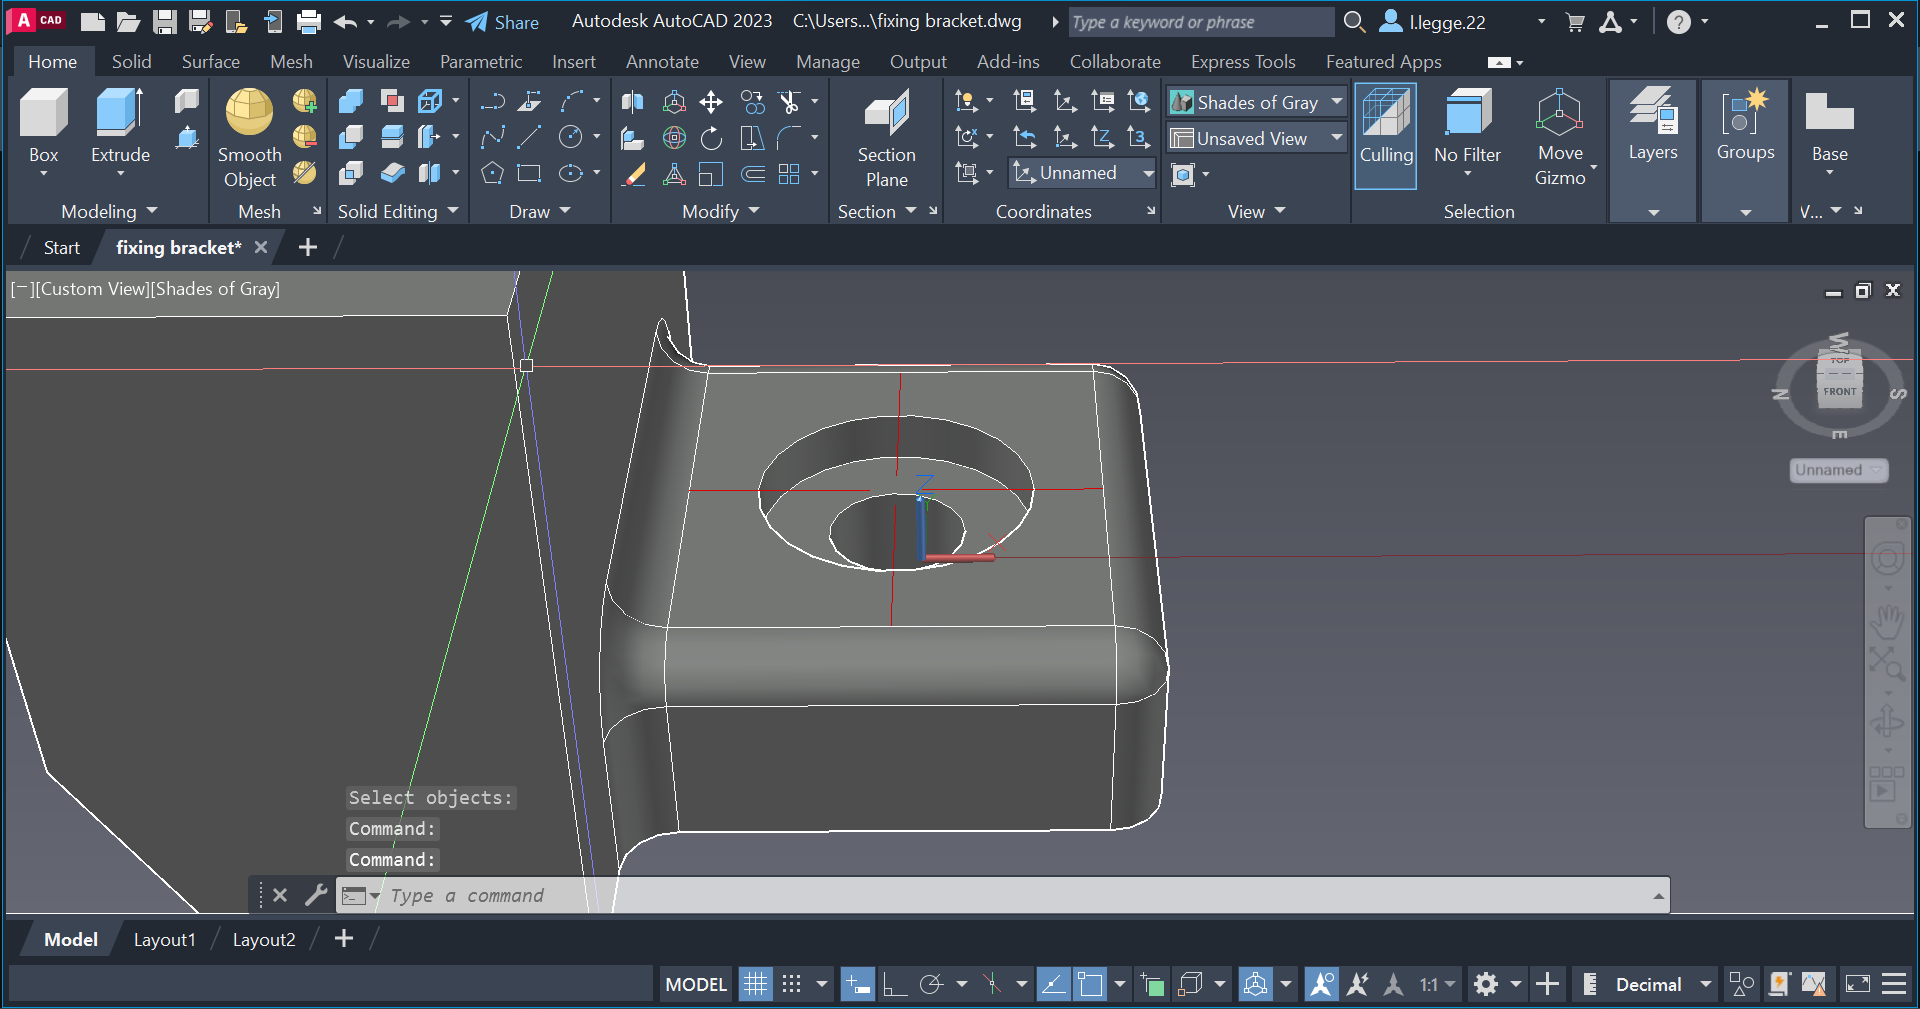
I then added circles to the sides to the model and these would later become holes for screws. I made two circles in order to have screw sit flush on the final product.
I then used the extrude and substract method again on the model. I also used the mirror tool to make the same shape on the other side.
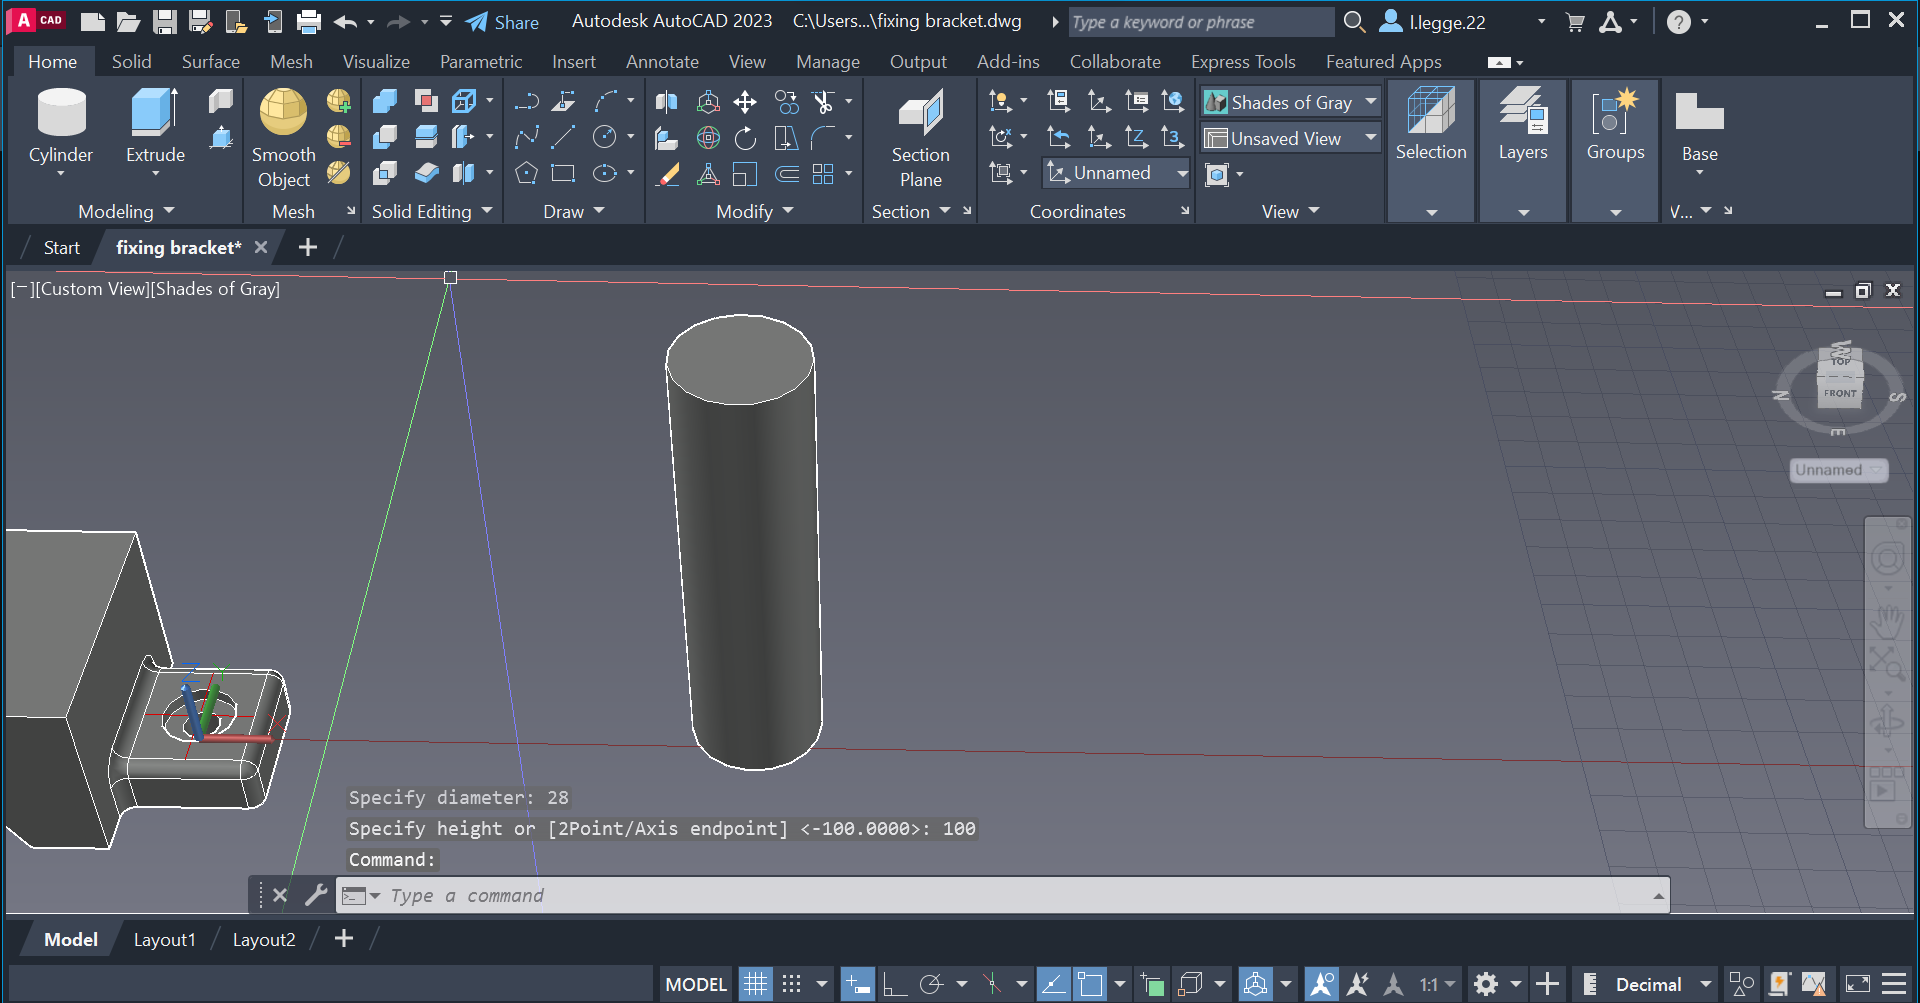
I then created a cylinder to the correct measurments.
I then used the rotate tool and moved the cylinder into the correct position.
I then used the substract tool to get the half pipe shape on the model.
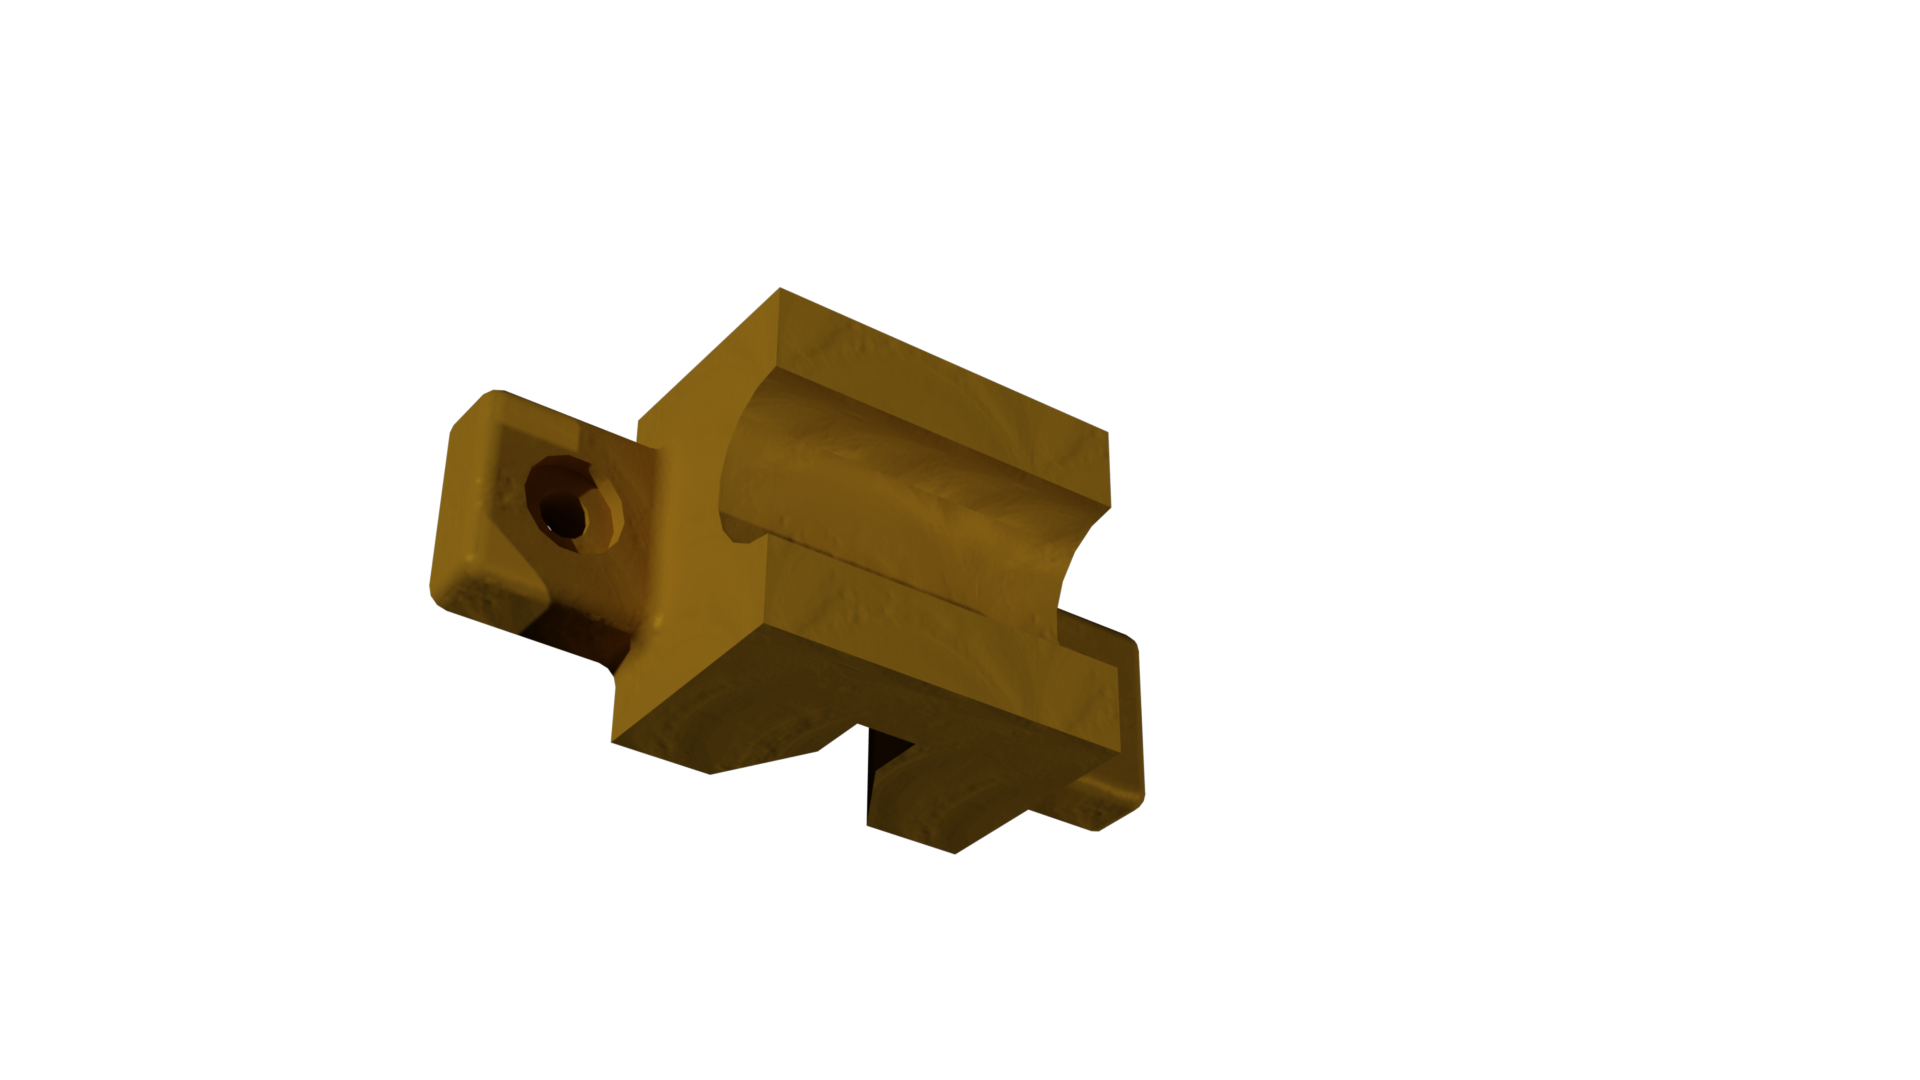
I then added materials and textures to the model and it was finished.